
Brightening is a calculation, not a redraw
When a photo is too dark, the fix is to change the numbers behind each pixel. FlowPix does this with the Adjust tool on the canvas: three sliders in the Light section, Brightness, Exposure and Contrast. It is a calculation on the pixels of the picture you have, with no model involved, so nothing is invented and nothing is redrawn.
That is also the limit. Adjust can only lift what is already in the file, and the three sliders do it in three different ways. This page shows, with numbers measured on three dark pictures, what each slider does to the shadows and to the bright parts.
Because it is a calculation, the same slider positions on the same picture always give the same result. There is no run to repeat, you can move the sliders back and forth until the picture looks right, and the picture is never redrawn.
How to do it in FlowPix
Put the photo on the canvas, select it and open the More menu, then choose Adjust. The Light section has Brightness, Exposure and Contrast, each from minus one hundred to plus one hundred, and the picture changes while you move them.
Press Done to keep the look on the picture. Or press Save as new image: the brighter picture appears next to the original at the original's own pixels, and the original goes back to how it was. Cancel leaves everything as it was.
What we measured
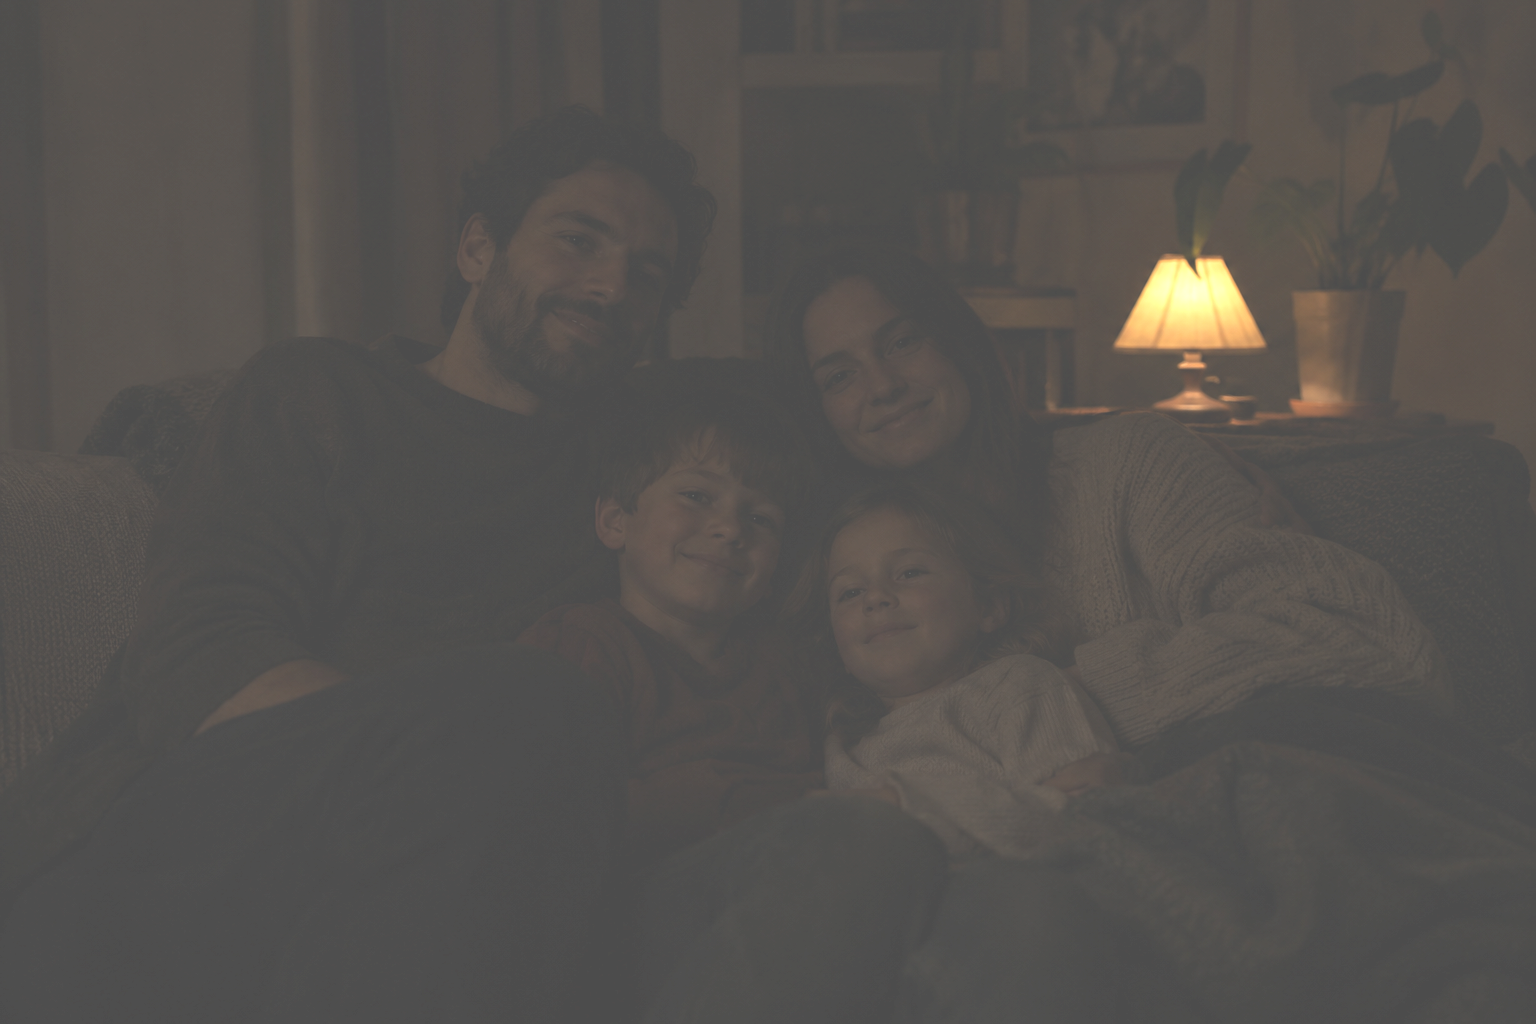
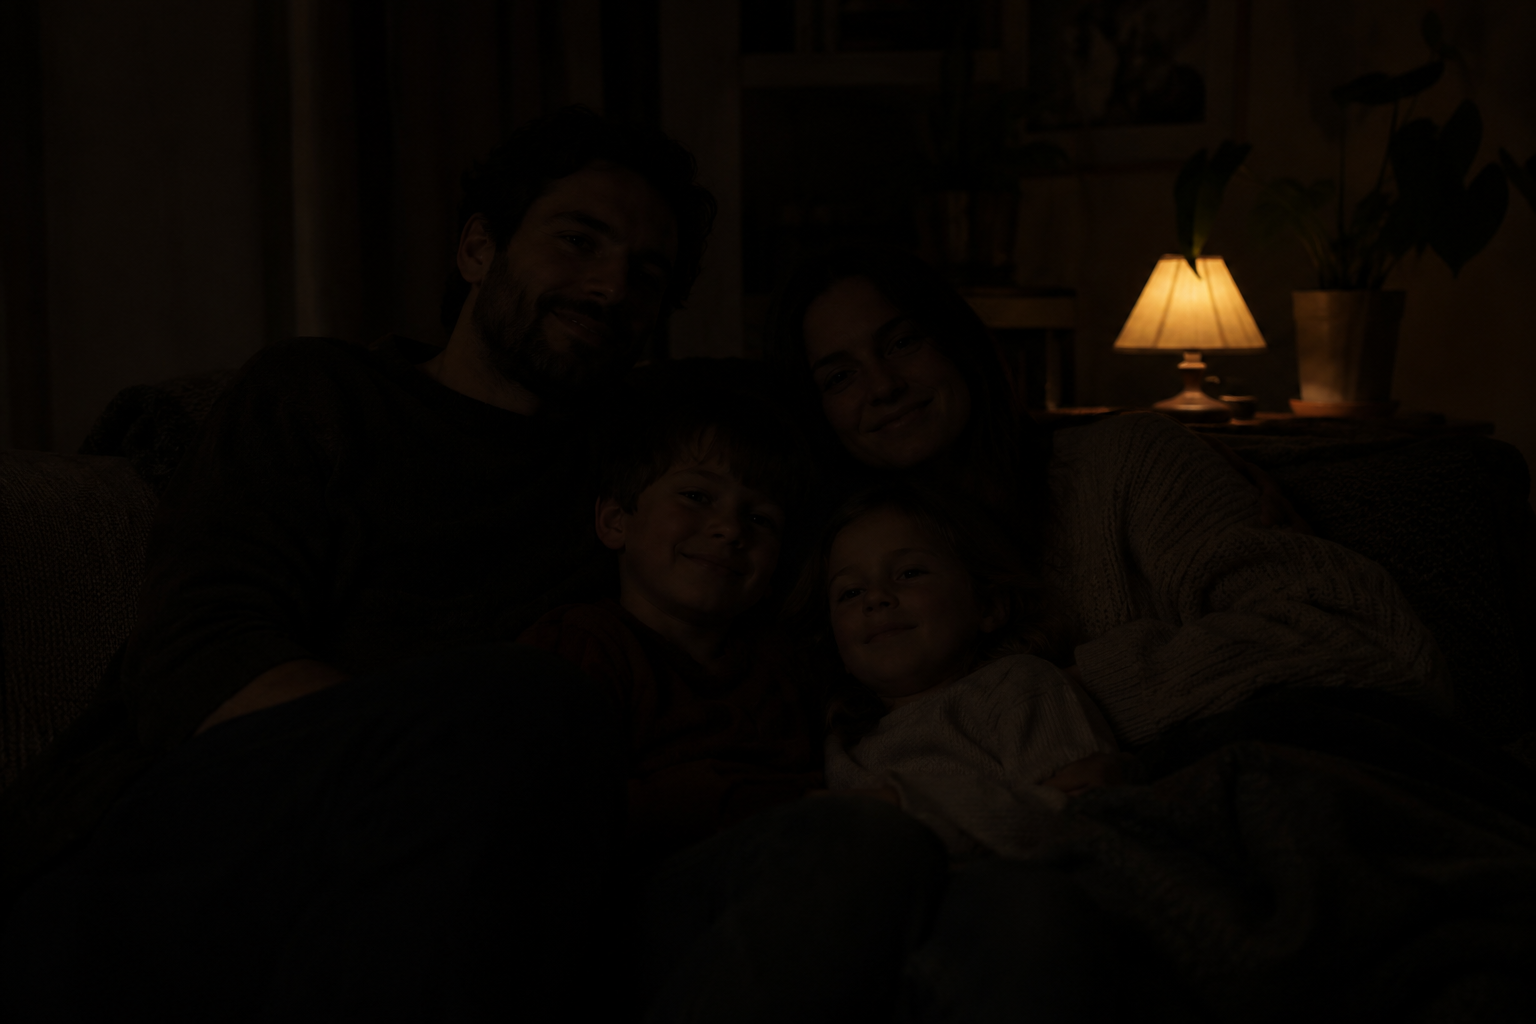
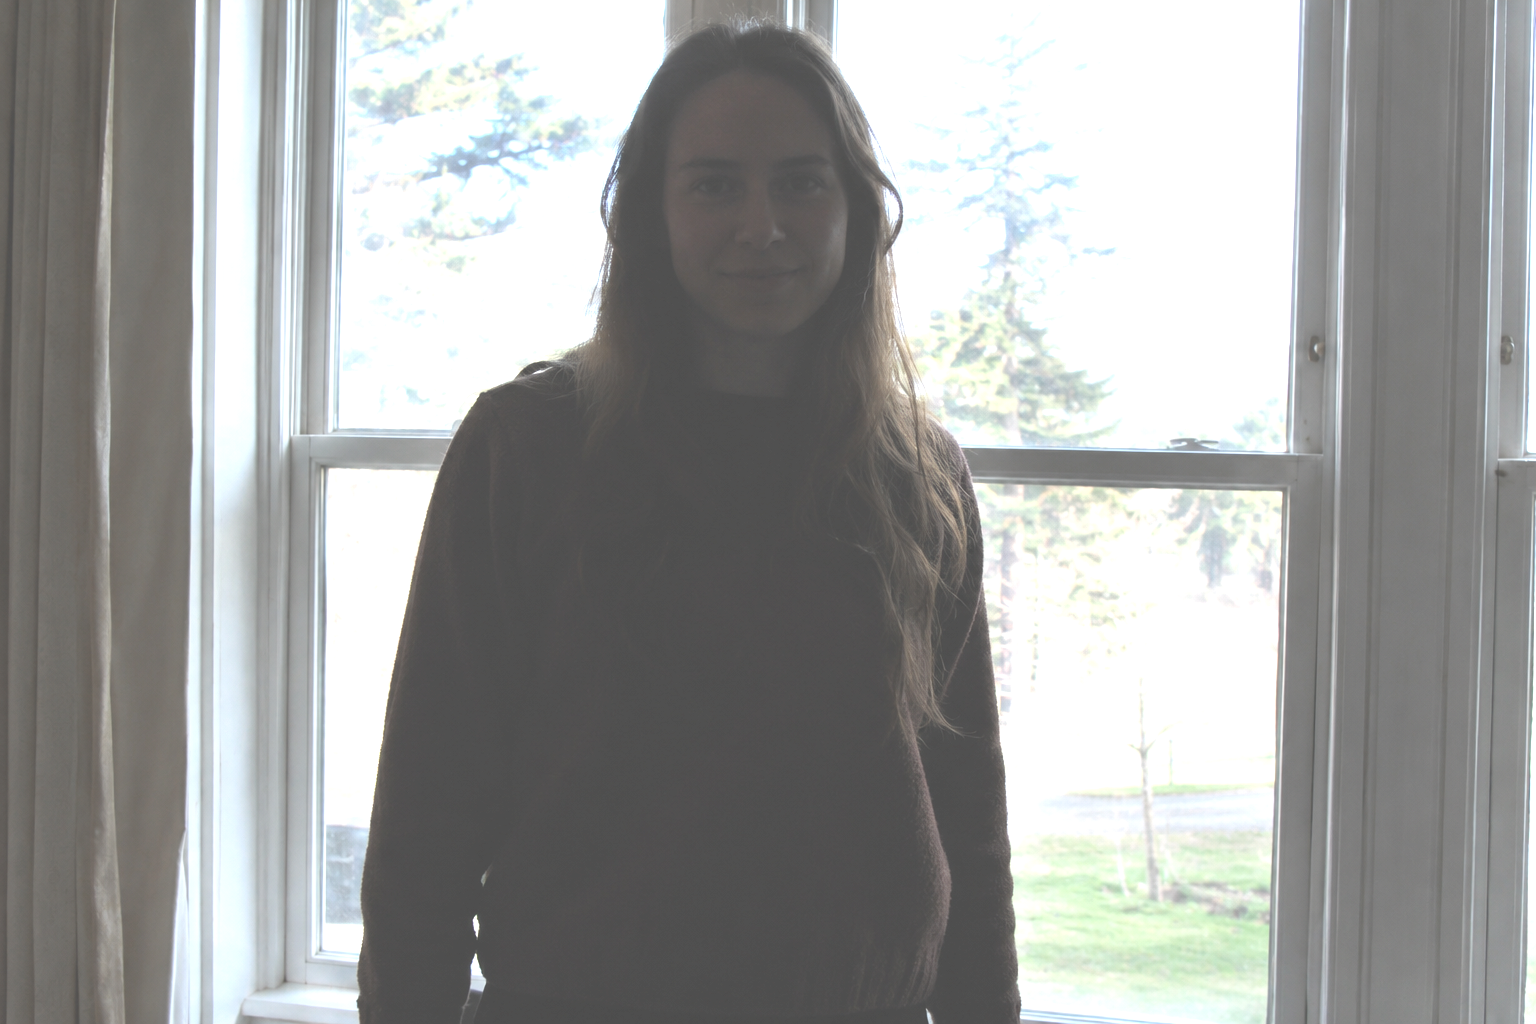
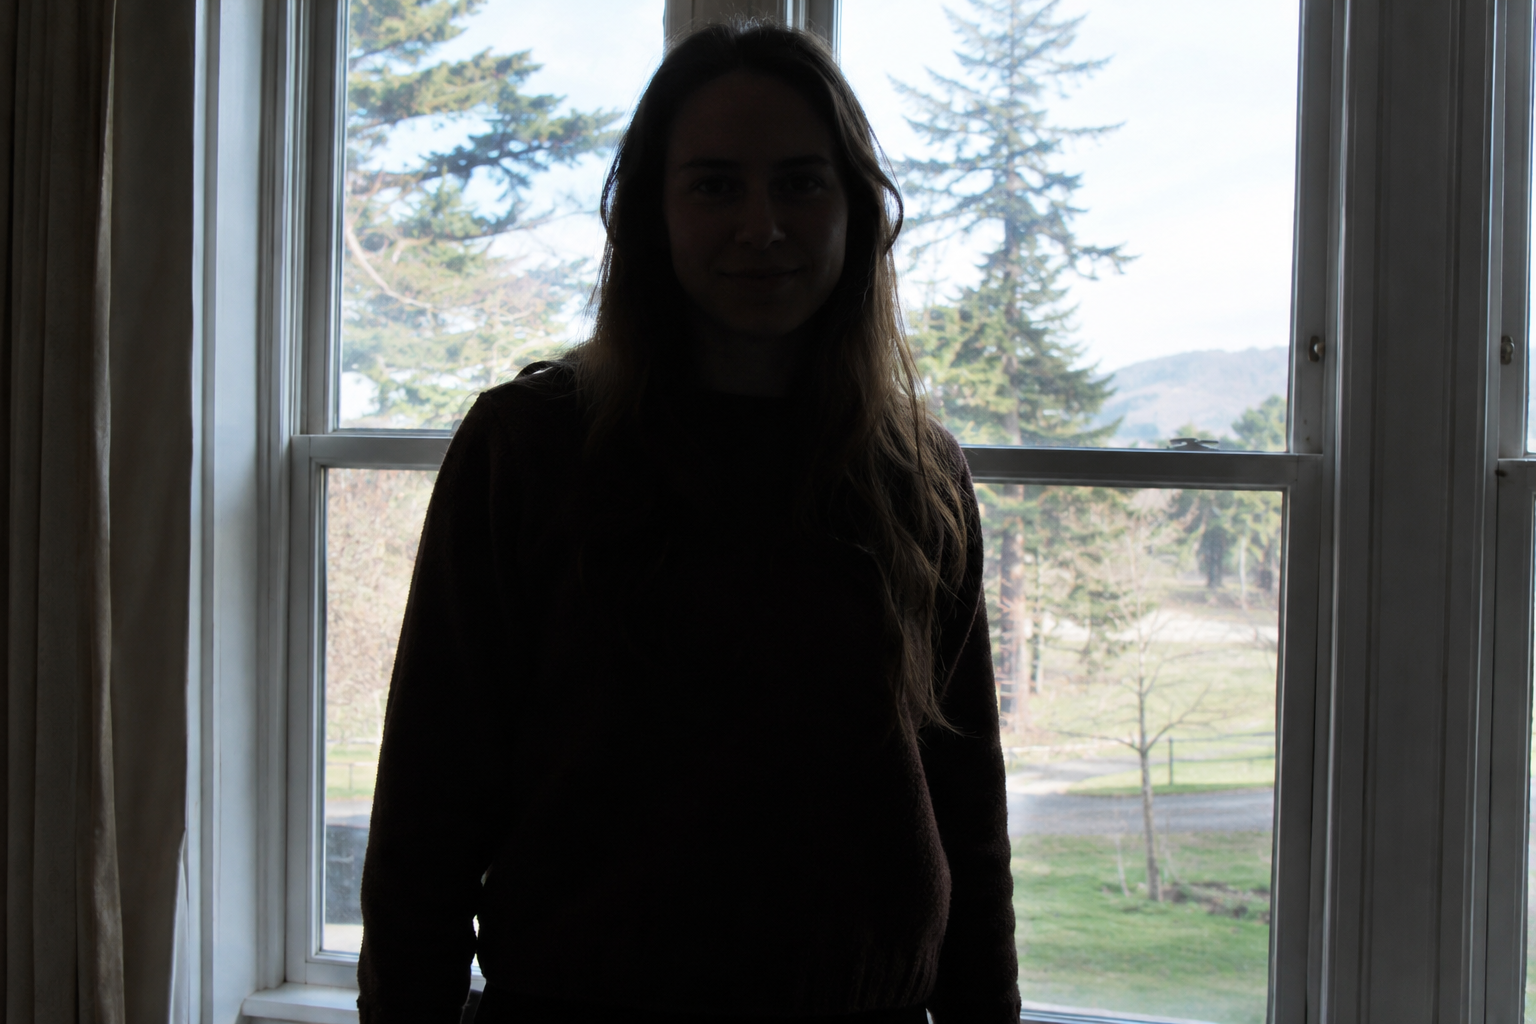
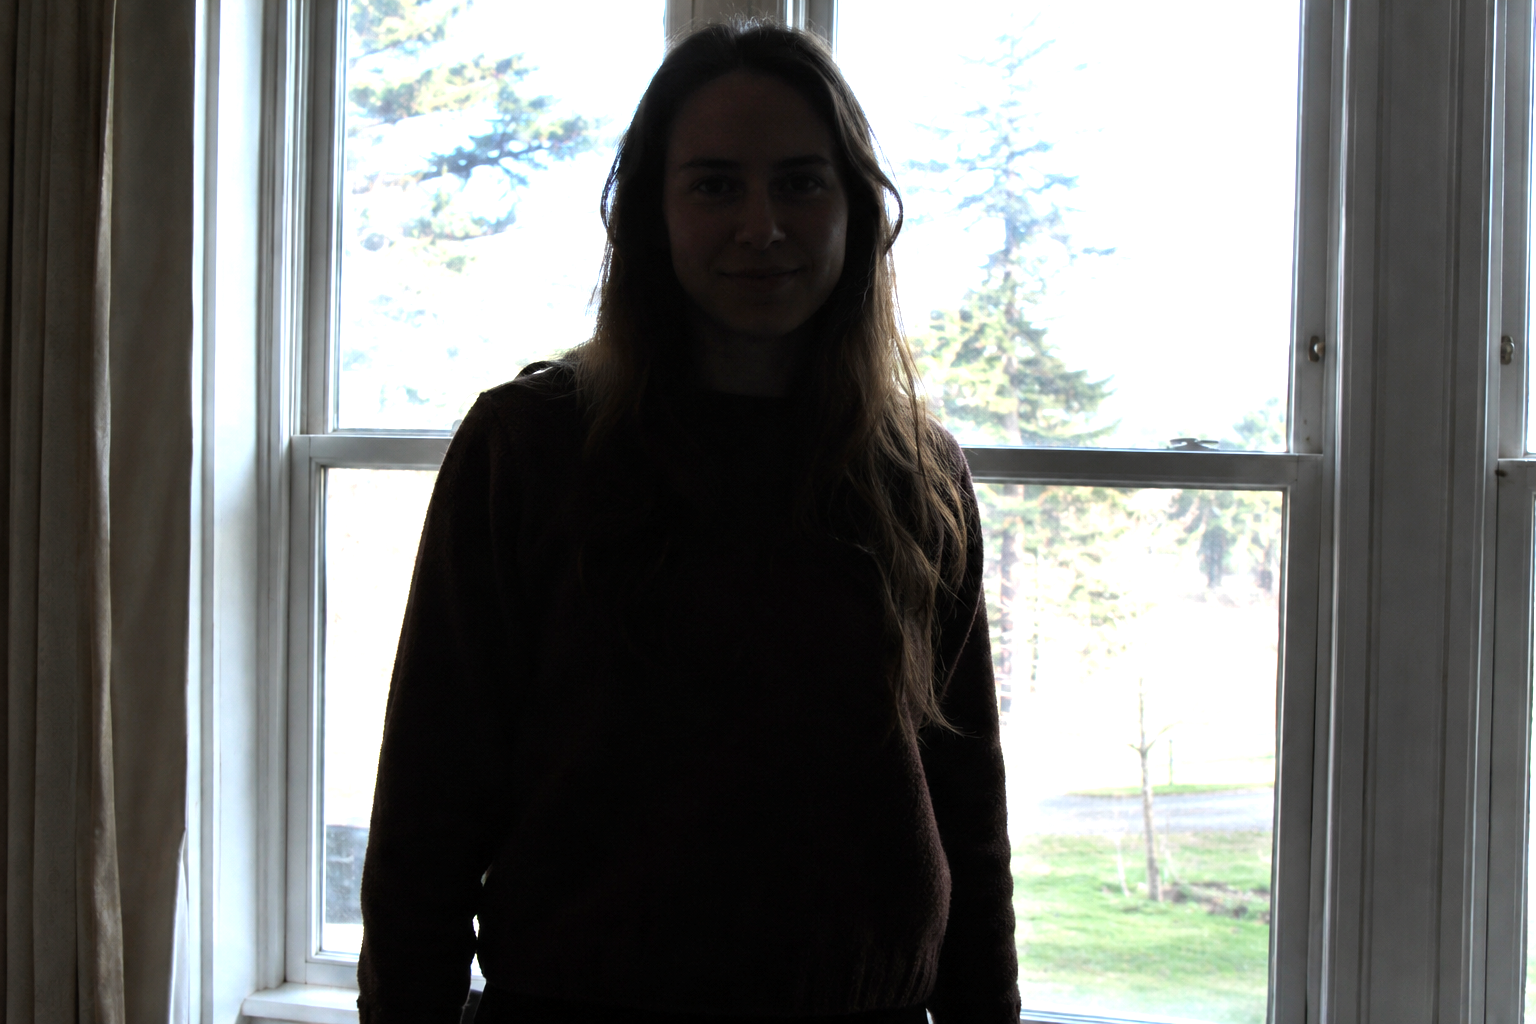
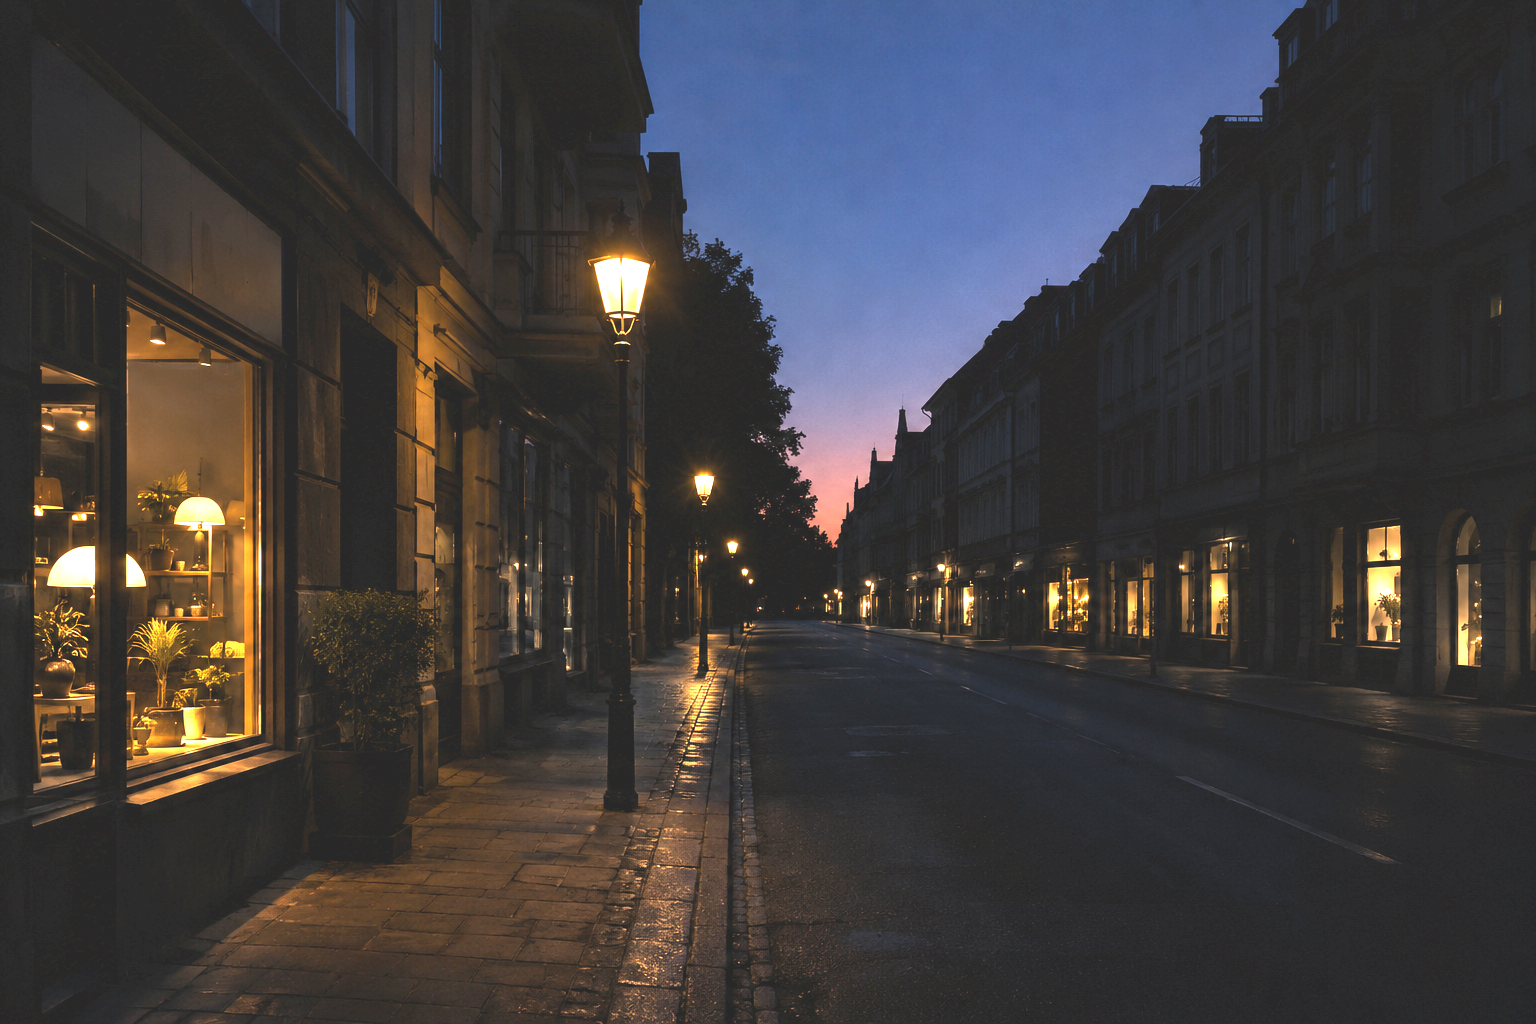
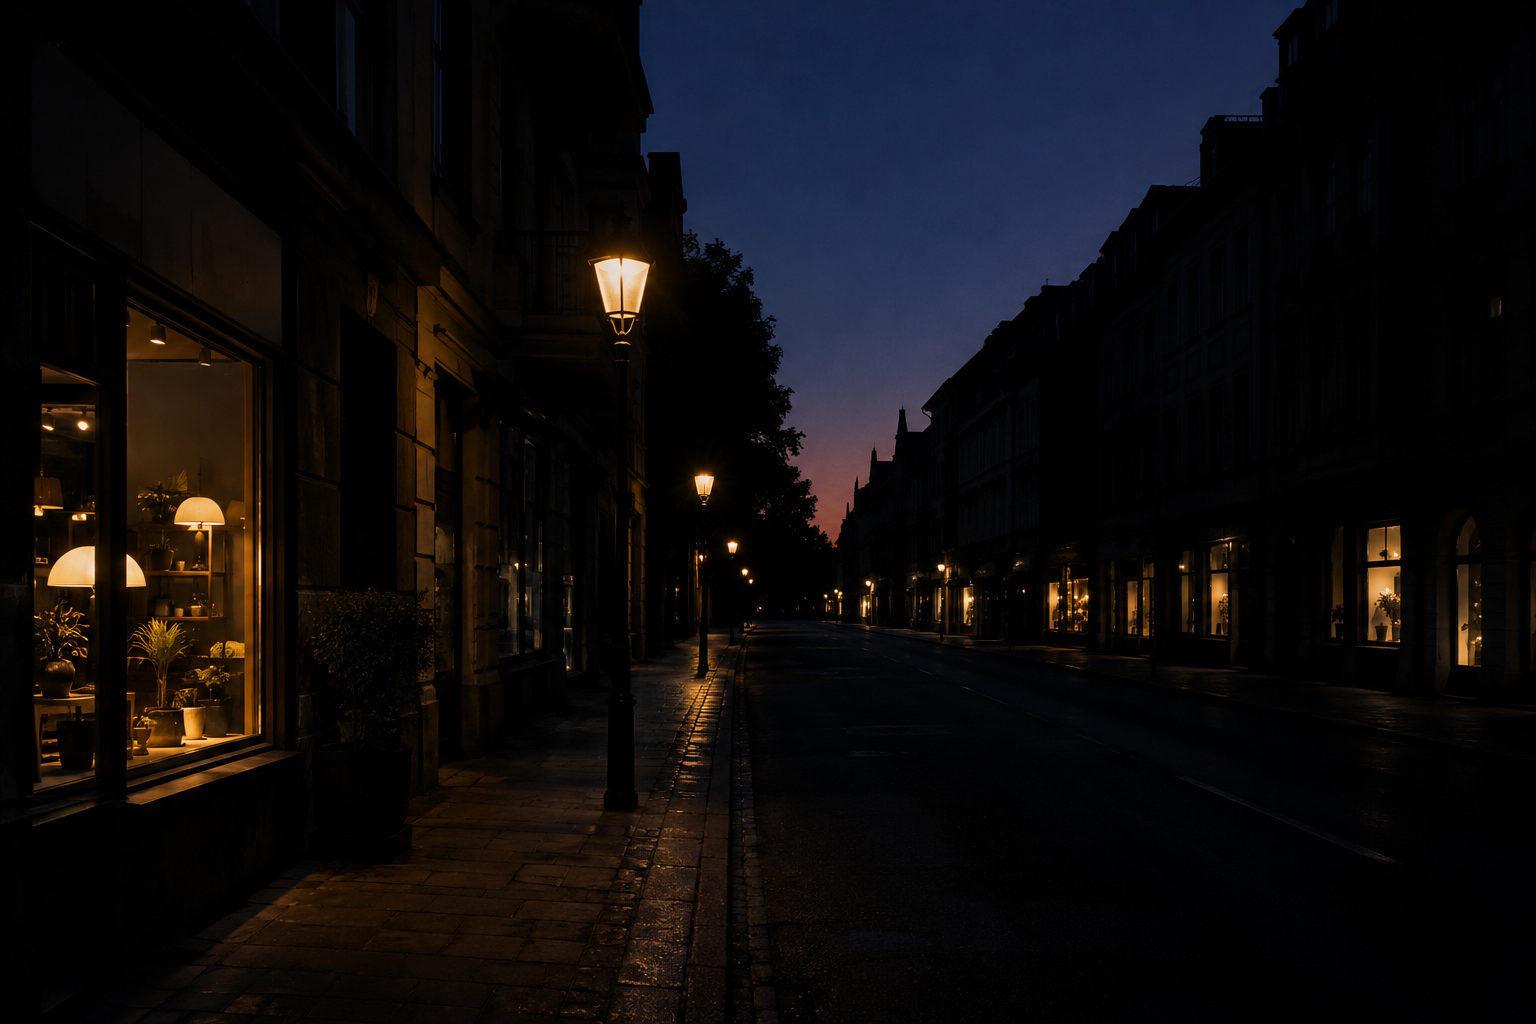
We made three dark pictures ourselves, none of them real photos of real people: a family on a sofa lit by one lamp, a person standing in front of a bright window, and a city street at dusk. We ran the real Adjust code on each at Brightness +30, Exposure +50 and Contrast +30, and measured the average brightness of every picture on a scale from 0 (black) to 255 (white).
In the backlit picture we also counted how much of the picture had turned pure white. The table has the numbers; the four sliders show some of the results.
These are single pictures, so they show how the sliders behave, not what will happen to your photo.
| Picture | Original | Brightness +30 | Exposure +50 | Contrast +30 |
|---|---|---|---|---|
| Family on a sofa, average brightness | 6 | 82 | 8 | 1 |
| Person at a window, average brightness | 94 | 160 | 118 | 88 |
| Street at dusk, average brightness | 13 | 89 | 18 | 3 |
| Person at a window, pure white pixels (percent) | 6 | 26 | 25 | 18 |
What each slider did
Brightness lifted everything by the same amount. The family picture went from almost black to a readable grey, and the street from 13 to 89. But the dark parts and the bright parts moved together, so the lifted pictures looked grey and flat, with no deep black left.
Exposure multiplies, so it moves dark parts very little. On the family picture it went from 6 to only 8, and the street from 13 to 18: almost nothing. On the backlit picture, where there was some light to multiply, it lifted the middle tones and kept the person darker than Brightness did.
Contrast on a dark picture made it darker, not lighter: the family picture went from 6 to 1. It is for adding depth after a lift, not for lifting.
The ends of the scale show the difference too. Brightness at plus one hundred adds the whole range to every pixel, so the whole picture turns white. Exposure at plus one hundred only doubles every value, one stop, so a black pixel stays black.
The bright window problem
In the backlit picture the window was already close to white. Brightness +30 took the share of pure white pixels from 6 to 26 in a hundred, and the trees and the sky in the window turned into a washed-out white. Exposure +50 gave 25, nearly the same, but kept more of the colour and the contrast of the window and the room.
There is no slider that lifts only the shadows: Highlights and Shadows are listed in the panel but greyed out. So with a backlit photo you choose how much of the window to give up, and you look at the whole picture before you keep it.
A good order to try
Start with Brightness in small steps, because it is the one that reaches dark parts. If the picture looks grey, add some Contrast: on the street picture, Brightness +30 with Contrast +30 gave an average of 63 and kept deeper darks and brighter lights than Brightness alone.
We did not measure the noise that lifting dark parts brings out, which is stronger in a photo taken in the dark than in our clean test pictures, so look at the result at full size. Keep the original: Save as new image does that for you.
For a dim indoor photo, Brightness first and Contrast second is a good start. For a backlit photo, save the Exposure version and the Brightness version as two new images, put them side by side and keep the one whose window you can live with.