
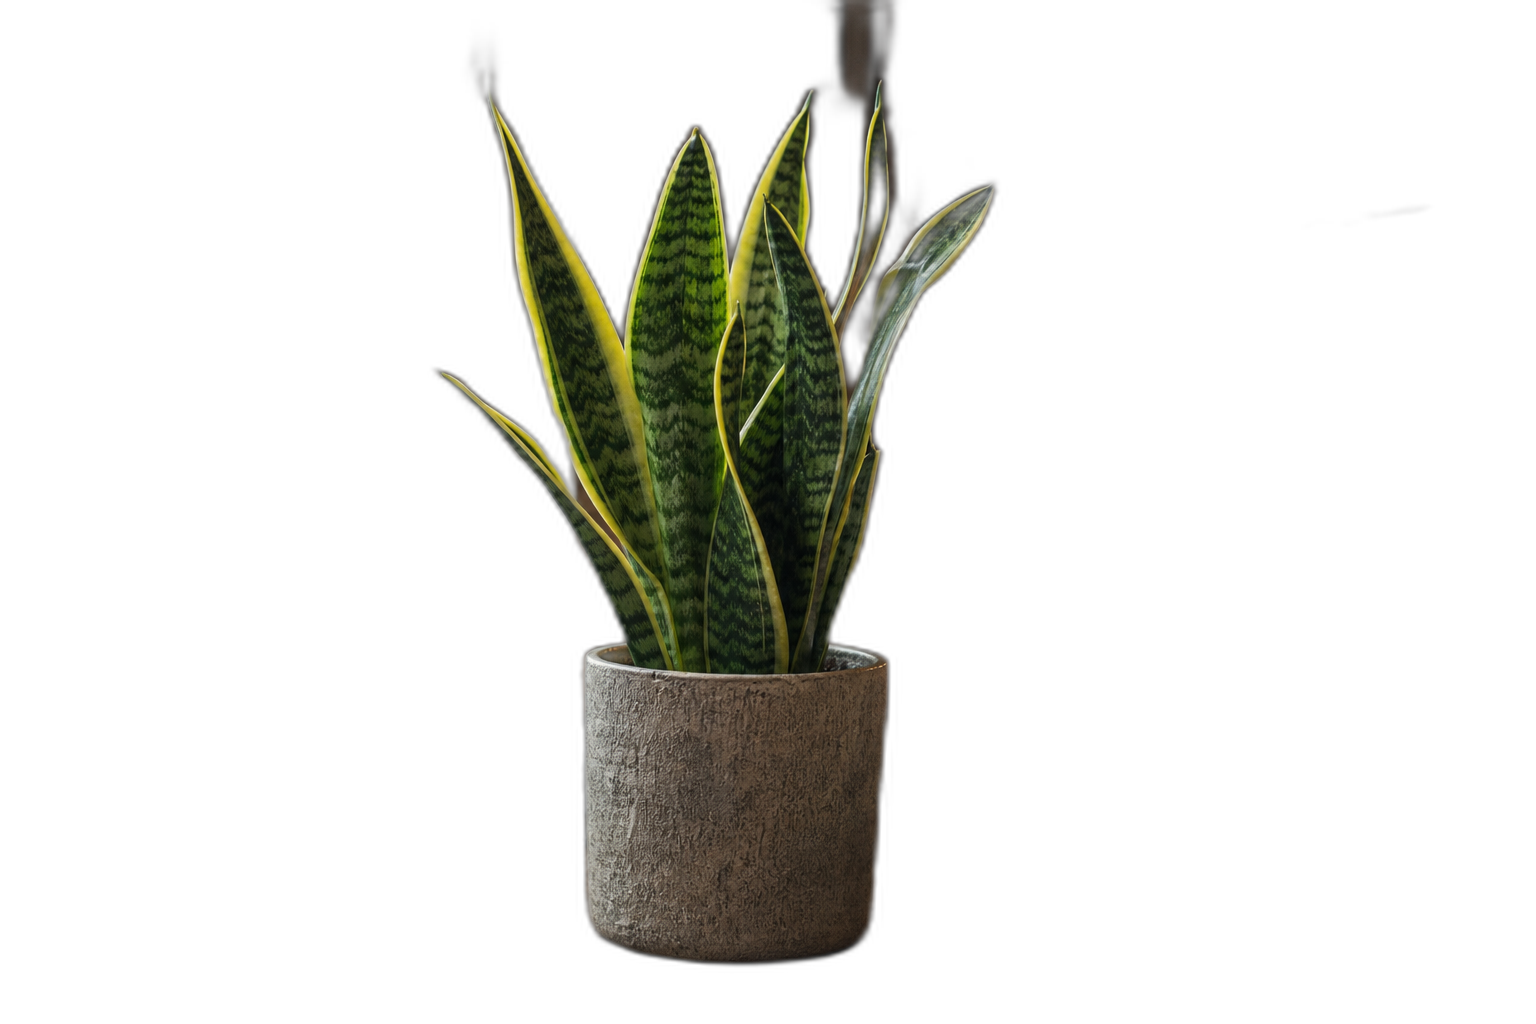

How to make an image transparent
To make an image transparent you need to do more than hide the background. A picture saved as a JPG, or a PNG with a white box inside it, still carries its background with it: pixels that happen to be white, grey or the colour of a wall. If you paint over them, or cover them with a shape in the colour of your slide, the picture only looks transparent, and it looks that way until the slide colour changes. Erasing by hand has a similar problem: one slip of the brush leaves a ragged outline, and hair or fur is almost impossible to trace. In a truly transparent image those pixels are empty, inside a PNG, so anything behind the picture shows through.
With FlowPix the route is short. Open the app, drop in the picture and say in one sentence what you want to keep, for example: make the background of this photo transparent and keep the person. The cutout tool finds the subject, removes everything around it and returns a transparent PNG with clean edges, including soft edges such as hair. Look at the result on a dark and a light background, and run it again with a clearer instruction if an edge is off. Then place it on a slide, a poster or a product page, or export it as a PNG. Because the background is really gone and not just hidden, the same file works on any colour.
What makes an image transparent
Most photos are a full rectangle of coloured pixels. Even a picture of a single object has a background: a table, a wall, a sky, a white sheet. When you place that photo on a slide or a web page, the rectangle comes with it, and the old background shows as a box around your subject.
A transparent image works differently. Besides the colour of each pixel it stores how see-through that pixel is. The pixels around the subject are set to fully transparent, so whatever lies behind the image shows through. Editors usually draw this as a grey and white checkerboard, which is also how FlowPix shows a finished cutout. The format that keeps this information is PNG. A JPG cannot hold it, which is why a picture saved as a JPG always has a solid background, usually white.
How to make an image transparent with FlowPix
Open the app, drop in the picture and say what you want to keep. A short sentence is enough: make the background of this photo transparent and keep the person. FlowPix finds the subject, removes everything around it and returns a cutout on a transparent background.
The result appears on the canvas and in the chat. From there you can place it into a bigger layout, ask for a new background behind it, or export it as a PNG. Each cutout uses a small number of credits from your balance, so you can try a picture, look at the edges and run it again with a different instruction if you are not happy.
What works well, and what is harder
Cutouts work best when the subject is clearly separated from what is behind it. Products on a plain surface, portraits, pets, food, furniture and single objects usually come out cleanly, including the soft edges of hair and fur. A larger source image gives the cutout more detail to work with.
Some pictures are harder. Glass, smoke and thin mesh let the background show through the subject itself, so the edge is a judgement call. A subject that has almost the same colour as its background, such as a white cup on a white table, leaves little to tell them apart. If a result is not right, say what went wrong, try a sharper photo, or crop closer to the subject, then run it again.
Where a transparent PNG is useful
Presentations are the most common case. A transparent logo, product or portrait takes on the colour of the slide, so a photo on a dark theme does not arrive with a white rectangle. The same applies to posters, flyers and social graphics, where you want one subject to sit on a colour, a gradient or another photo.
Online stores use cutouts to show the same product on a white listing, a coloured banner and a sale graphic without shooting it again. Designers keep a transparent version of a subject as a reusable layer. Sticker and print projects need a clear outline of the shape to be cut or printed. In every case the file does one job: it carries the subject and nothing else.
PNG, JPG and WebP: which file to keep
Keep the transparent version as a PNG. PNG is lossless, so the edges stay sharp, and it stores the transparent area. JPG is smaller for photographs, but it has no transparency and adds a solid background. WebP can also store transparency and is often smaller than PNG for web pages, but not every tool opens it, so a PNG is the safer file to hand to someone else.
Keep in mind that a transparent PNG is not always what a platform asks for. Many marketplaces want a plain white background for the main product image, so check the rules of the place you sell on. You can keep the transparent file as your master and place it on white, grey or a colour whenever a listing needs it.
Tips for a cleaner result
Start from the best picture you have. Even light, a sharp subject and a background that differs from it in colour or brightness all help. Avoid a picture where the subject is cut off by the frame if you want a complete shape.
When you have the cutout, look at it on both a dark and a light background. A faint light fringe on dark, or a dark fringe on light, tells you the edge needs another pass. Ask for it to be run again, or place the subject on a background close to the original colours. If you want the subject to feel at home on its new background, add a soft shadow under it: a cutout with no shadow looks like it is floating.
Image transparent maker or background remover?
They are the same job seen from two sides. The AI Background Remover page is about taking a messy background away from a photo you already have. This page is about the file you end up with: a transparent PNG that you can keep, name and reuse in other work. If you only need the background gone for a one-off picture, either page leads to the same result in the same place: the FlowPix canvas.
Once the cutout is ready you do not have to stop. You can upscale a small picture, place the subject in a product scene, or build it into a poster, all in the same conversation, and keep the transparent PNG as the starting point for every version.