What this page covers
This page is about the words in a tattoo design: a name, a date, a short phrase. They are the part that must be exactly right, and the part that image tools get wrong most often. We took two invented designs, each with a name or a date, changed one letter or one digit, and turned each into a line stencil, to see what the canvas does at each step.
It does not replace a tattoo artist. A drawing on a screen is a starting point for a conversation, and the artist decides how a design is drawn for skin. For turning a photo into line art, our tattoo stencil maker page is the longer guide.
Everything on this page was done with tools that are already on the canvas: describing a design in the chat, Edit Text in the More menu and Quick Edit in the picture toolbar. None of it needs a special tattoo mode, and none of it was tested on a photo of a body.
How we made them, step by step
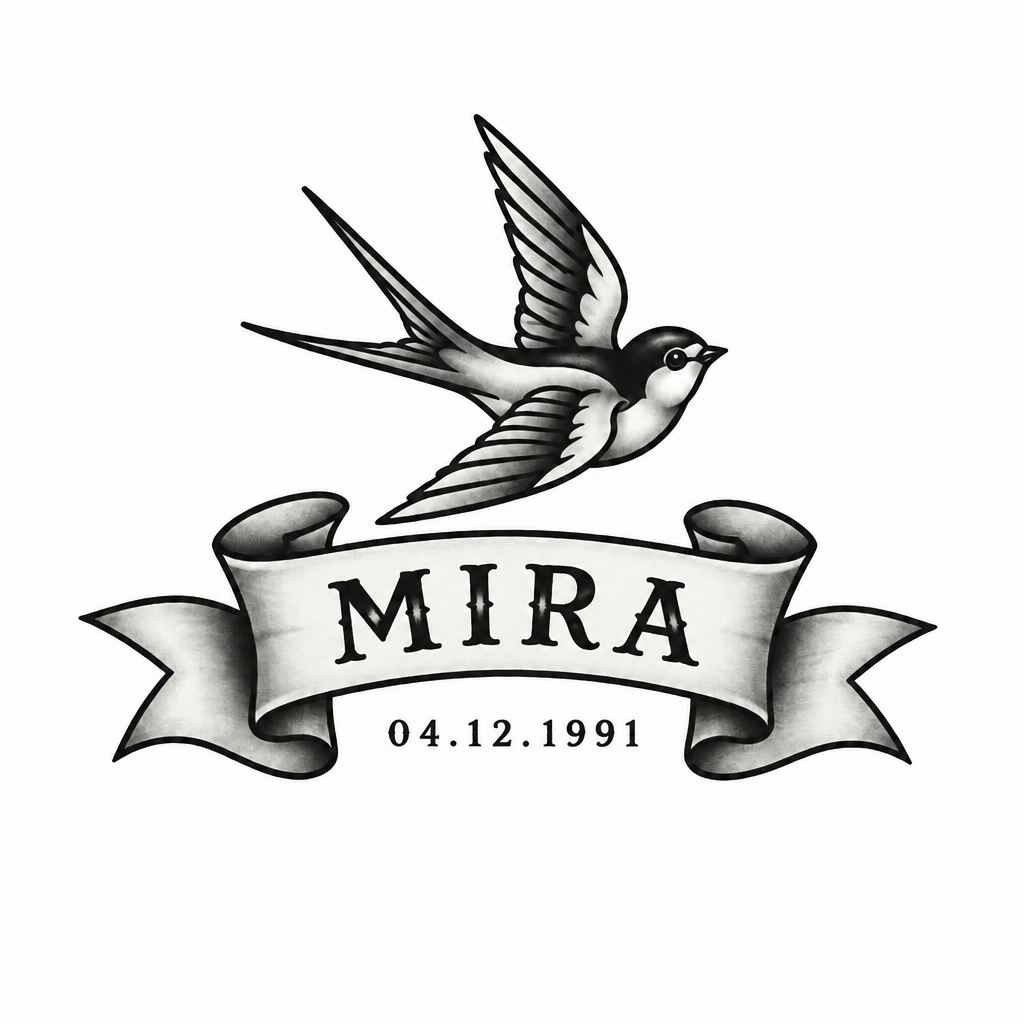
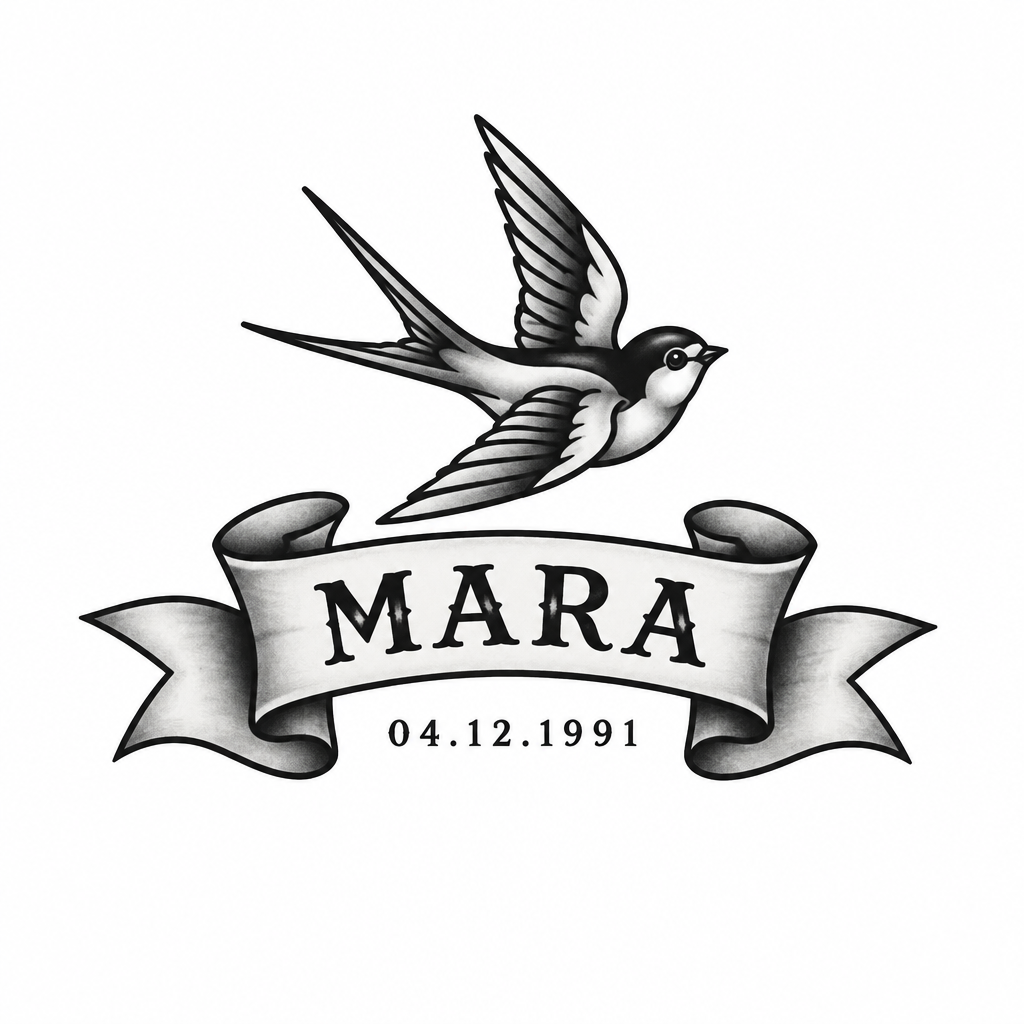
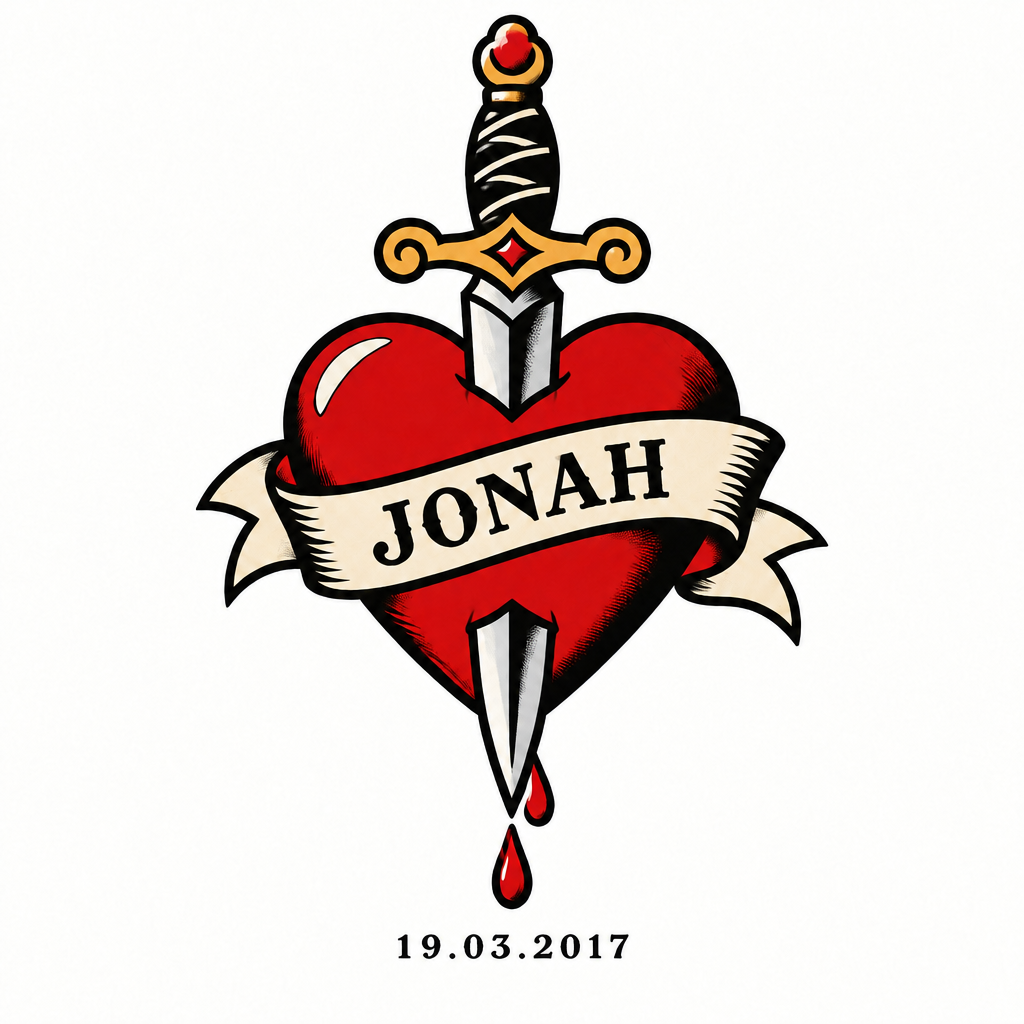
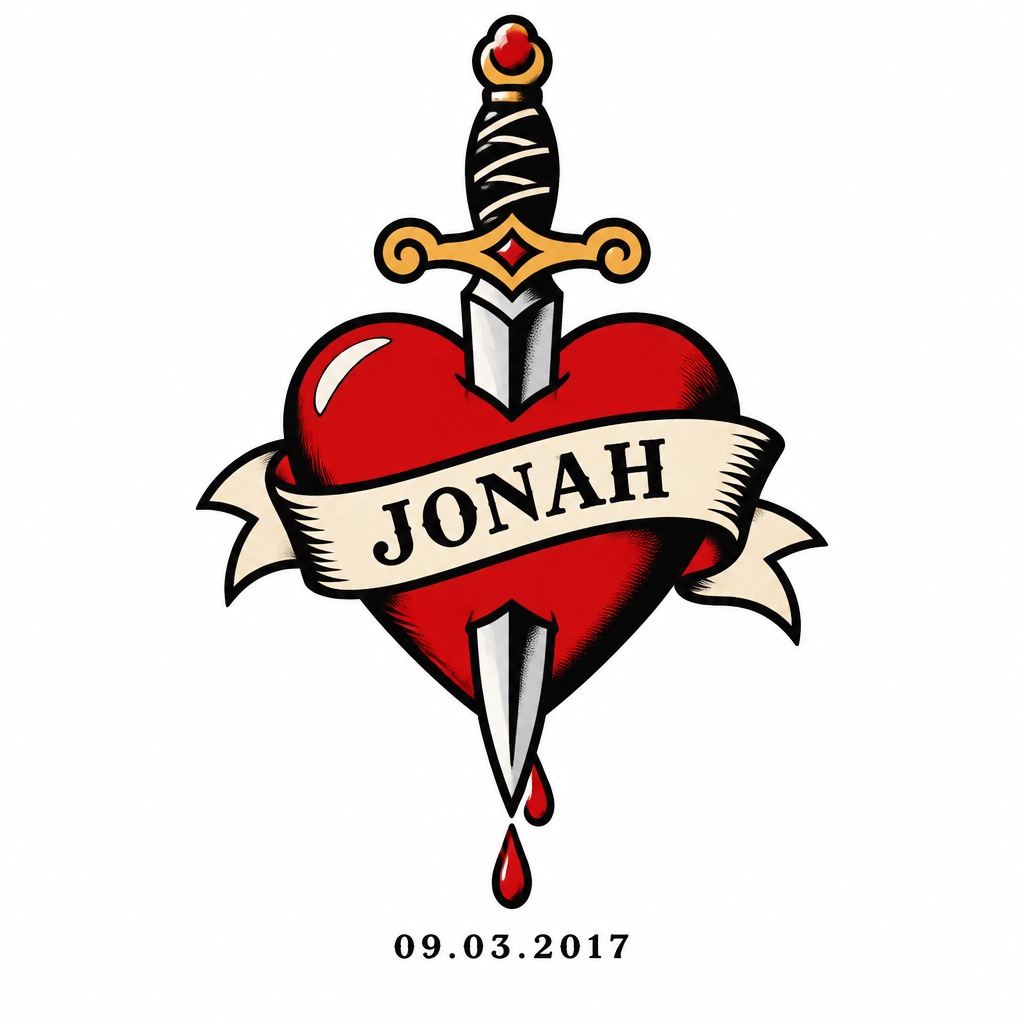
We drew two designs from a text description: a swallow above a ribbon banner with the name MARA and the date 04.12.1991, and a heart with a dagger and a scroll with the name JONAH and the date 09.03.2017. The names and the dates are invented.
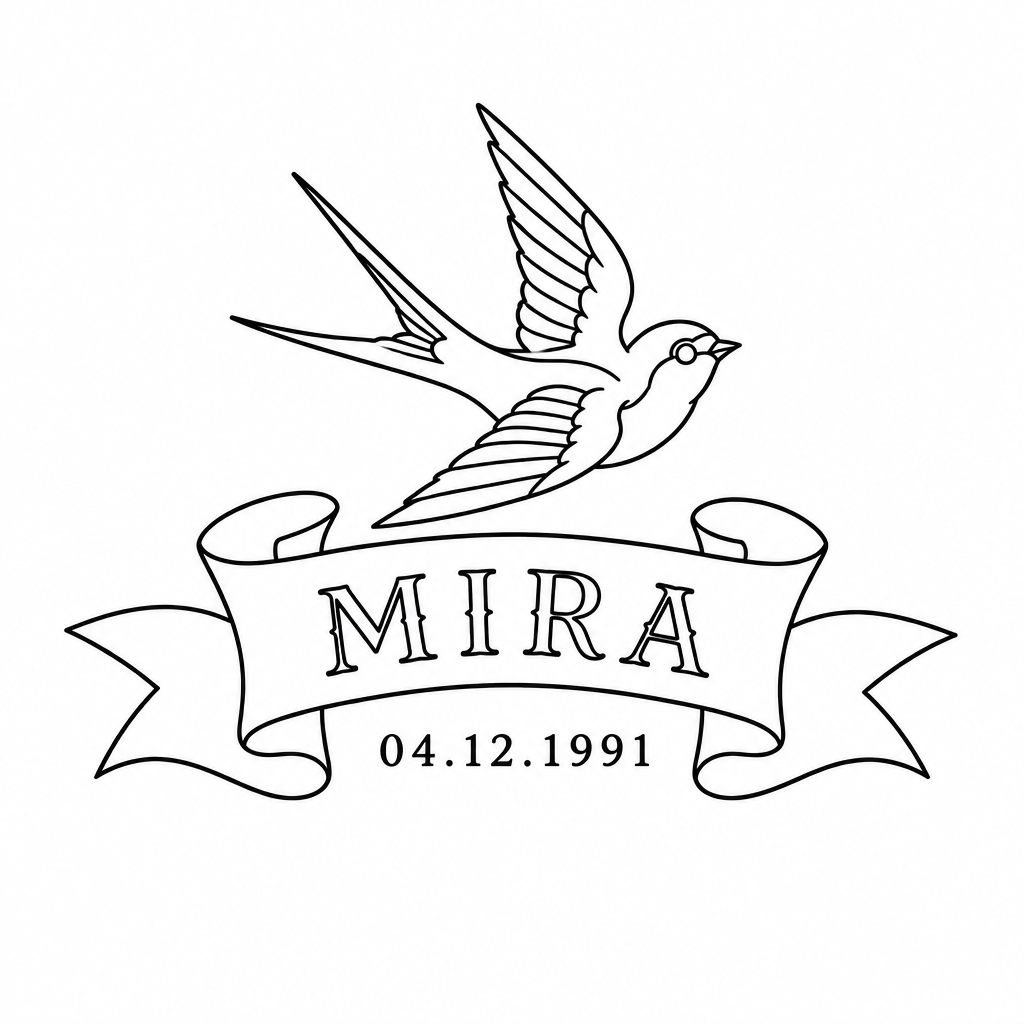
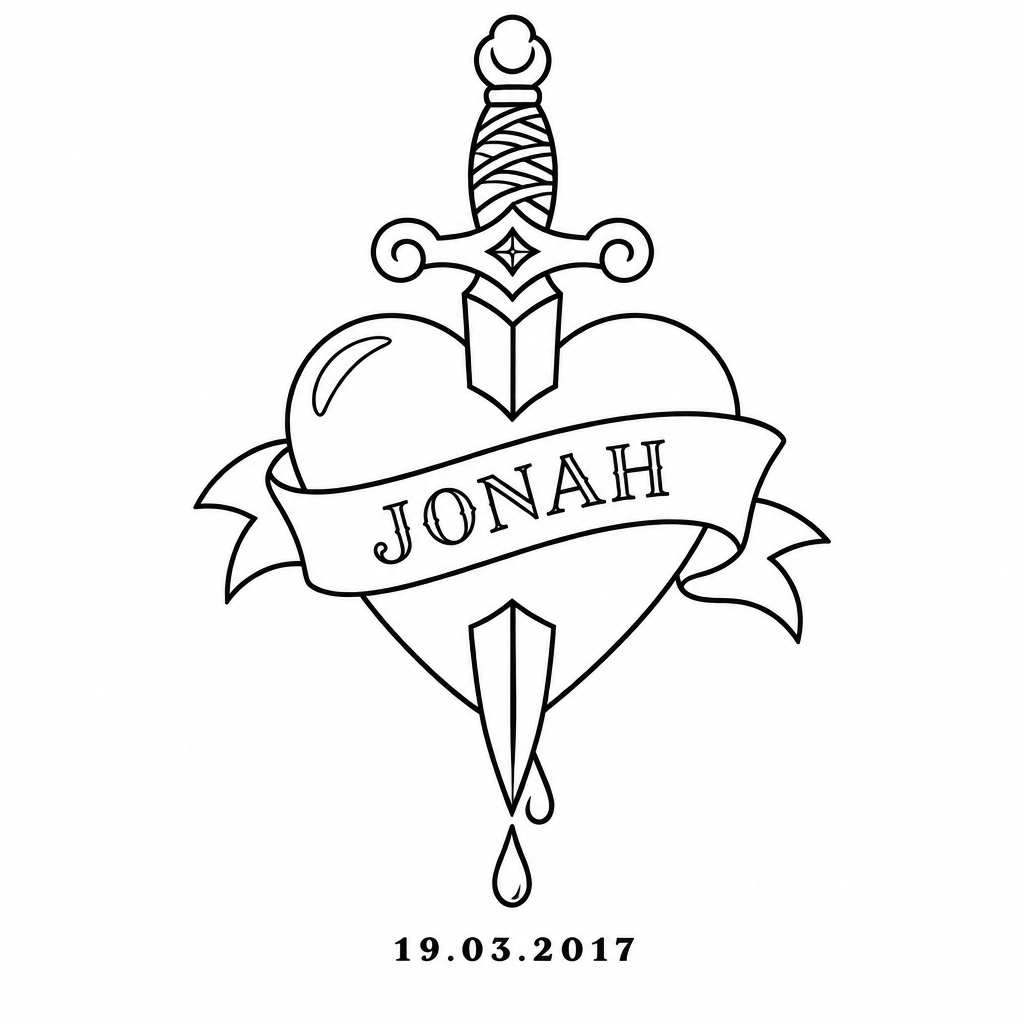
Then we changed one thing in each with Edit Text, the name MARA to MIRA in the first and the date 09.03.2017 to 19.03.2017 in the second, and finally turned each edited design into a line stencil with Quick Edit. Every step was one run, on the result of the step before. The six pictures are ones we generated ourselves, as they came back and not edited afterwards. The four sliders show the steps.
The prompts we used
These are the descriptions the tools received, so you can copy them and change the details.
The first design: "A tattoo design on a plain white background: a ribbon banner reading MARA with a small swallow above it and the date 04.12.1991 in small capitals below the banner, black ink with soft grey shading, flash tattoo style." The second design: "A tattoo design on a plain white background: a heart with a dagger through it and a scroll across it reading JONAH, the date 09.03.2017 in small capitals under the heart, black and red ink, traditional flash tattoo style."
The name change, in Edit Text: "Change the name MARA on the banner to MIRA" The date change, in Edit Text: "Change the date 09.03.2017 to 19.03.2017"
The stencil, in Quick Edit: "Turn this tattoo design into a clean stencil: thin black outlines on a white background, no shading and no fill, the same design and the same lettering."
What we saw
Both designs came out with the words as we wrote them. Edit Text changed MARA to MIRA and the date to 19.03.2017 and nothing else we could see: the swallow, the banner, the heart and the dagger looked the same. Looking closer, the picture was still redrawn: the white of the background turned a little warmer in one of them and a few lines of shading changed.
The stencils had no colour at all, the shading was gone and the lines were thin. The new name MIRA and the date 19.03.2017 were still right and the letters were clean. But the stencil is a redrawing: the swallow came back with fewer feather lines, and the dagger and the heart were simpler than in the design. The table shows the size of the pictures.
| Step | Size |
|---|---|
| The design | 1024 × 1024 px |
| After Edit Text | 1024 × 1024 px |
| After Quick Edit (the stencil) | 1024 × 1024 px |
Names and dates need a second pair of eyes
An image tool draws letters, and letters can come out wrong: a swapped letter, a digit that is not the one you wrote. We read every word and digit after every step, and in our runs they were right. That was two designs, one run each, so it is not a promise about yours.
Check the name and the date yourself, then have someone who knows what they should say check them too, and have your tattoo artist check them again before anything is inked. A wrong letter on screen costs a minute, and a wrong letter on skin does not.
From a design to a stencil
The stencil is the design as thin black lines on white, which is the shape an artist traces or redraws. The result is about a thousand pixels on the long side, so if you print it large it will look soft, and it may be worth enlarging the file first.
Keep the design, the edited design and the stencil. If the stencil lost a detail you care about, you can go back to the design and ask for the stencil again with a more exact description, such as which lines to keep.
If the stencil needs fewer or bolder lines, say so in the description. We asked for thin black outlines and the result followed it, and a different description gives a different stencil. Each run gives a new picture and the earlier ones stay as they were, so you can ask again and compare.