

Why red eye happens
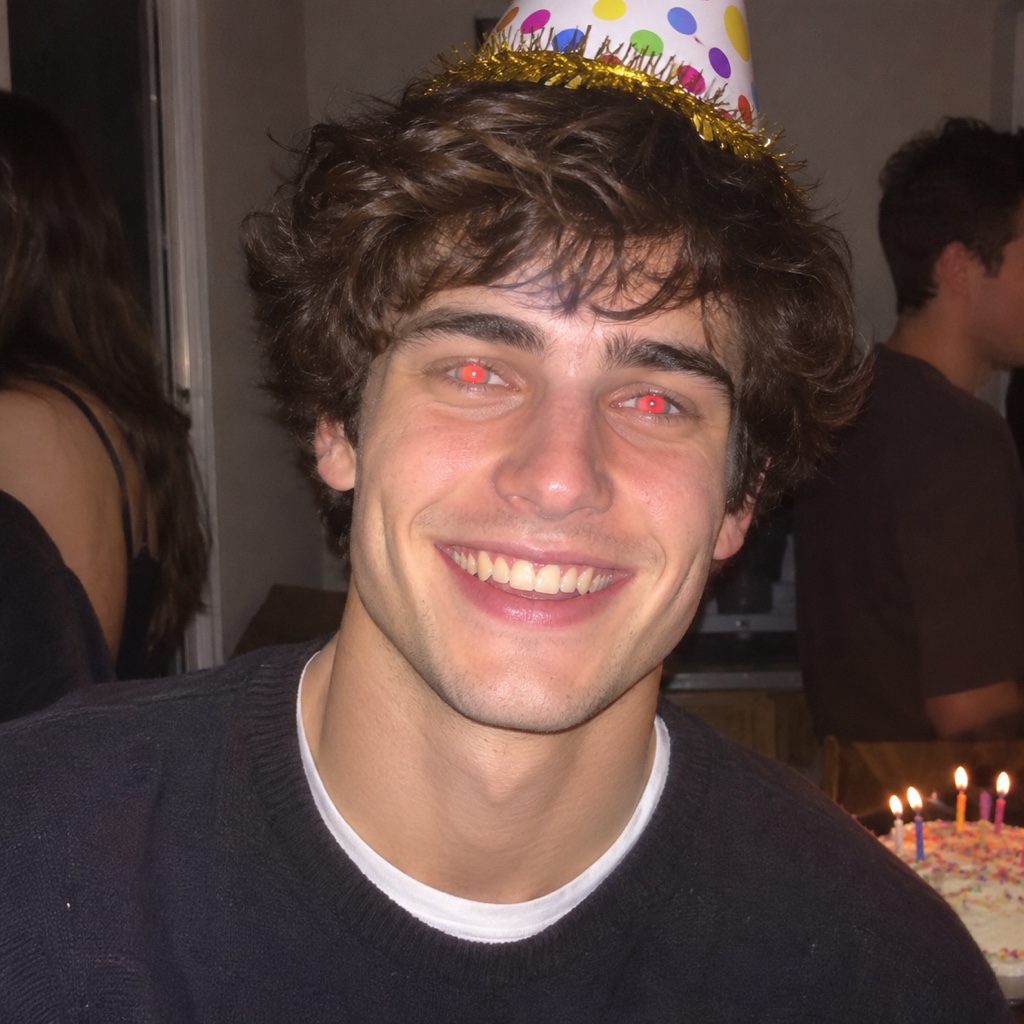
Red eye is the red glow in the pupils of people in flash photos. When the flash goes off, its light goes in through the pupil, bounces off the back of the eye and returns straight to the lens. The back of the eye is rich in blood, so the light that comes back is red.
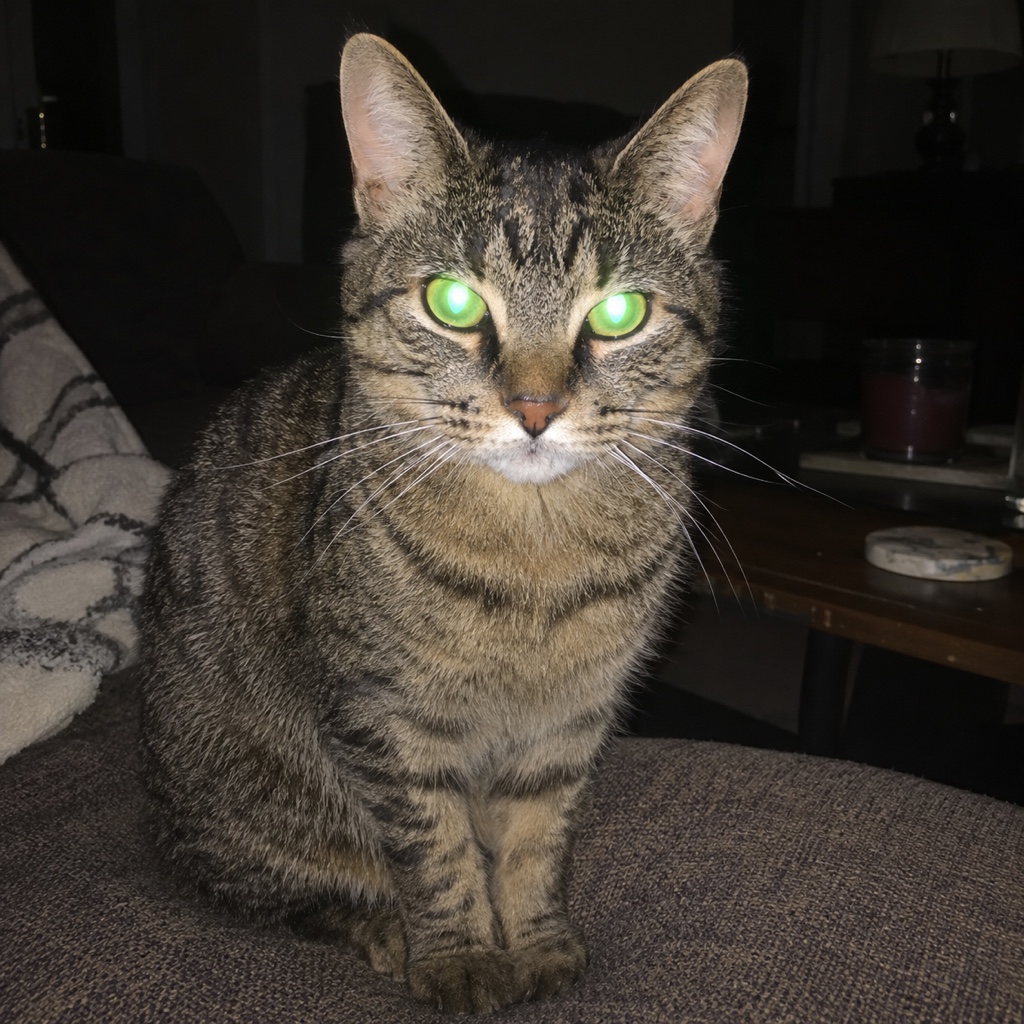
It happens most in dim rooms, because the pupils are wide open in the dark and let more light in and out. It also happens most when the flash sits close to the lens, as it does on a phone or a small camera. Animals show the same effect in other colours: in pet photos the glow is often green or yellow.
How to avoid it before you take the photo
The easiest fix is not to need one. Add more light to the room so the pupils get smaller, or turn the flash off and use the light that is there. If you must use the flash, bounce it off a white wall or ceiling, or move it away from the lens if your camera allows it.
Asking people to look a little to the side of the lens helps too, and many cameras have a red-eye reduction mode that fires a pre-flash to shrink the pupils first. None of this is certain, so it still helps to know how to fix a photo afterwards.
How to remove red eye on a Mac
Apple's Photos app has a red-eye tool. Open the photo, click Edit, then Adjust, then Red-Eye. Click Auto and Photos looks for red eyes on faces and fixes the ones it finds.
If a red pupil is left, drag the Size slider until the circle matches the red area, then click each pupil. Apple says the tool does not work on animal eyes that glow green or yellow, and it does not work on videos.
How to remove red eye on a phone
On a Samsung Galaxy phone, open the photo in Gallery, tap the pencil for Edit, then the Tools icon, then Face effects, and choose Red-eye fix. Follow the instructions or use the slider, then save. Face effects only appears for pictures of people and selfies, so the tool is not for pets.
On an iPhone, Apple describes a Red-Eye tool for Photos on a Mac, but we did not find one described in Apple's iPhone editing guide. Look in the Edit menu of your own phone. Other phones differ, so look for a red-eye or face tool in the editor that came with yours.
How to remove red eye in FlowPix
FlowPix does it with Quick Edit on the canvas. Put the photo on the canvas, select it and open Quick Edit in the picture toolbar. Describe the fix, for example: Remove the red-eye effect: make the pupils natural dark pupils with the normal eye colour. Change nothing else. Then press Run. The button shows the credits it will cost before you press it.
The result comes back as a new picture, and the original is not changed. If you do not like it, change the description and run it again, or keep the original.
Look at the result at full size before you keep it. Zoom in on each eye and check that the two eyes match, that the pupils look round and natural, and that the small bright reflection in each eye is still there. If one eye looks wrong, run it again with a more exact description, such as that both eyes should have the same colour.
What we saw in our tests
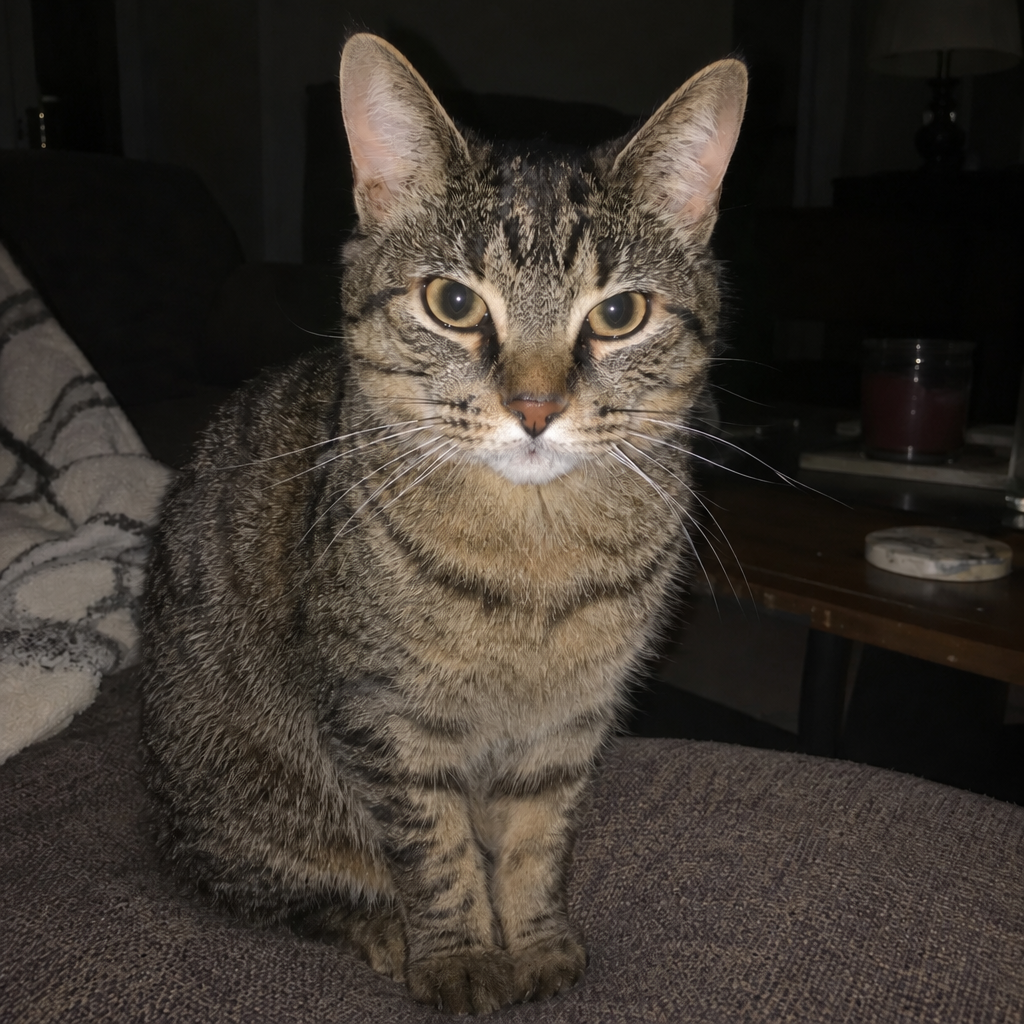
We tried it on three pictures: a flash portrait of a man at a party, a cat with a green glow in its eyes, and a group photo of four friends with red eyes. In all three the glow was gone. The pictures are ones we generated ourselves, not photos of real people or pets, and the results are the real results of those runs, not edited afterwards.
But Quick Edit does not touch only the pupils. It redraws the whole picture from your description. The man's eyes came out grey-blue, a colour the model chose because the red hid the real one. The cat's eyes came out amber, and its fur was redrawn. In the group photo the faces came out cleaner and slightly different from the original. The two sliders on this page show the man and the cat.
When to use which tool
If a photo has a person with red pupils and you only want the pupils fixed, use the red-eye tool in your phone or computer. It is made for that, and the rest of the picture stays as it was. Use Quick Edit when that tool is not there, when it will not work, as with pet eyes, or when you do not need the picture to match the original pixel for pixel.
Do not use Quick Edit on ID photos, documents or evidence, because it redraws the picture. Whatever you use, keep the original file and work on a copy. If the whole photo is blurry or grainy rather than just red-eyed, our guides to fixing pixelated photos and enhancing photos are the next step.