

What it means to pixelate an image
To pixelate an image is to turn it into a grid of big squares, each one a single color. Where a photo had a face, a line of writing or a leaf, it now has a few blocks, and the smaller the picture's detail, the sooner it disappears. People do it for two reasons: to make small details hard to make out, and because they like the blocky look.
How much is left depends on the size of the squares. With many small squares the picture still looks like itself, only a little rough. With a few big ones it turns into a mosaic of colors, and you can only tell what it was from the overall shape.
How to pixelate an image in FlowPix
Put the picture on the FlowPix canvas and select it. Open Adjust, and under Effects you will find the slider called Pixel size. Move it and the picture turns into squares. The number next to it is how many squares run along the shorter side of the picture, from 8 to 256: a high number means many small squares, and a low number means a few big ones.
Leave Colors at zero if you only want the squares. Press Save as new image and FlowPix puts a new pixelated picture beside the original, at the same size. The original is not changed, so you can go back to it and try another setting.
The squares are laid on the picture's own pixels, so each one is a whole number of pixels wide. We measured saved pictures pixel by pixel, and in every setting that asked for a grid, no pixel was off the grid. Each square is one even color, the average of the part of the picture it covers.
How coarse is coarse enough
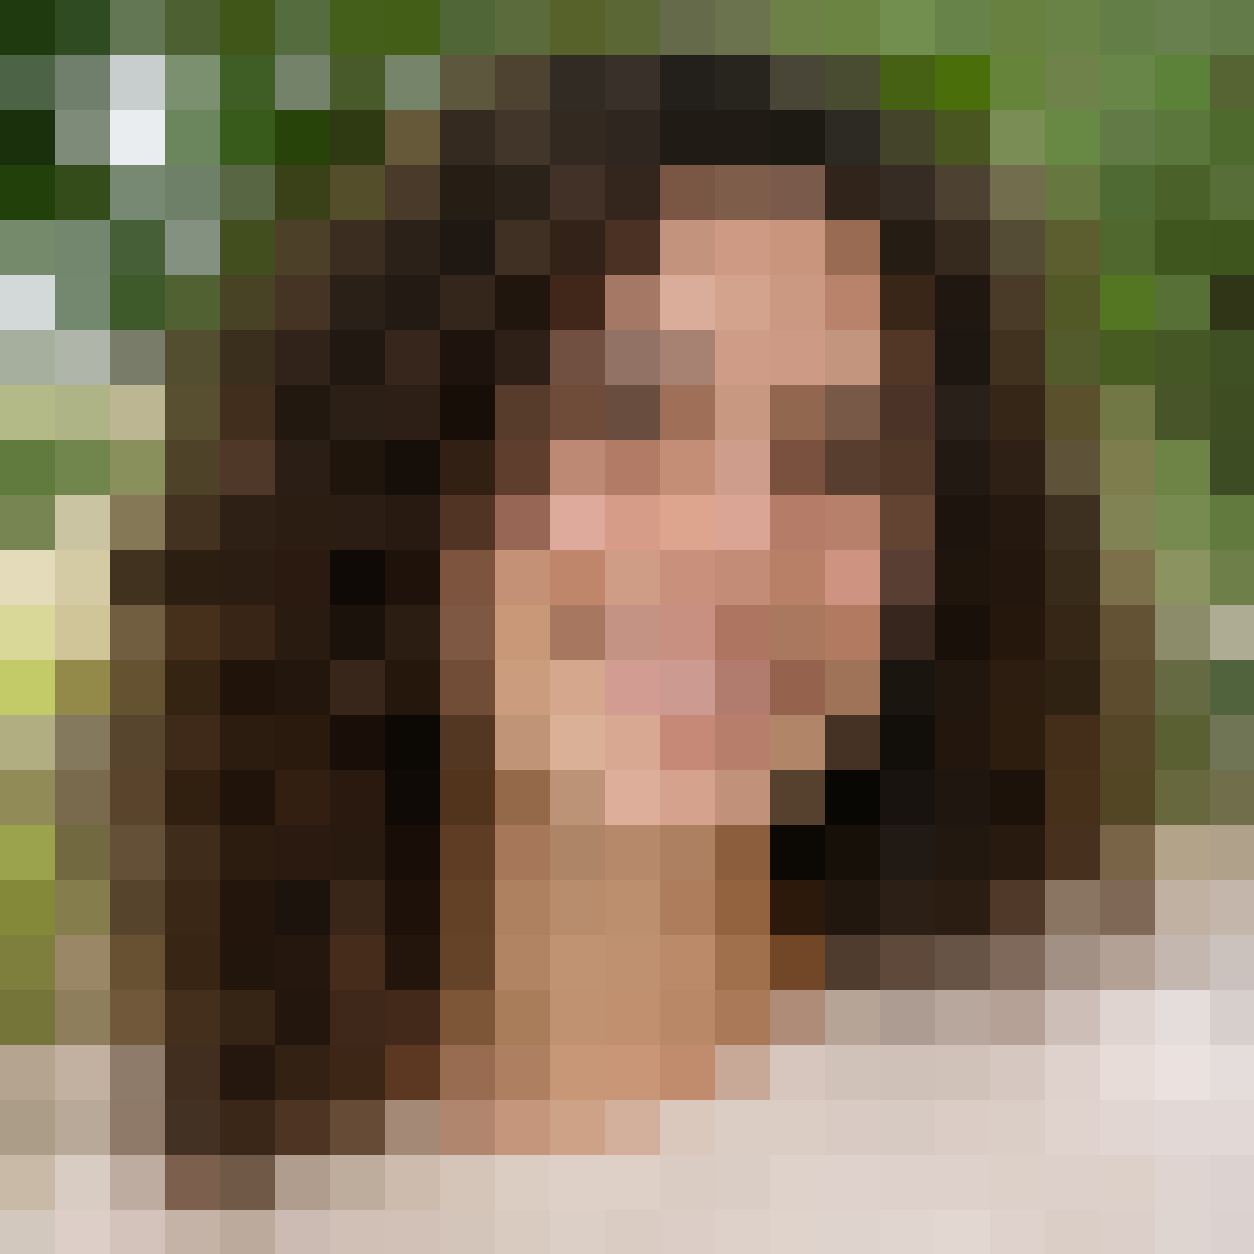
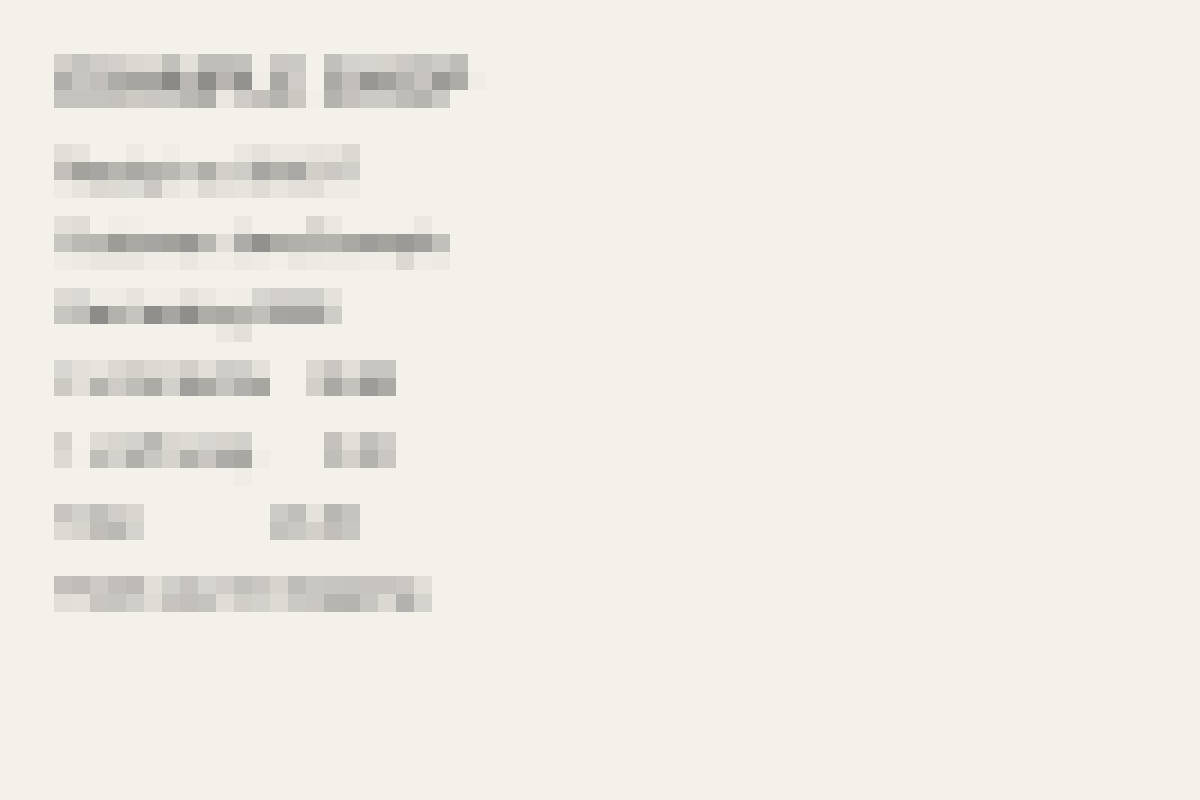
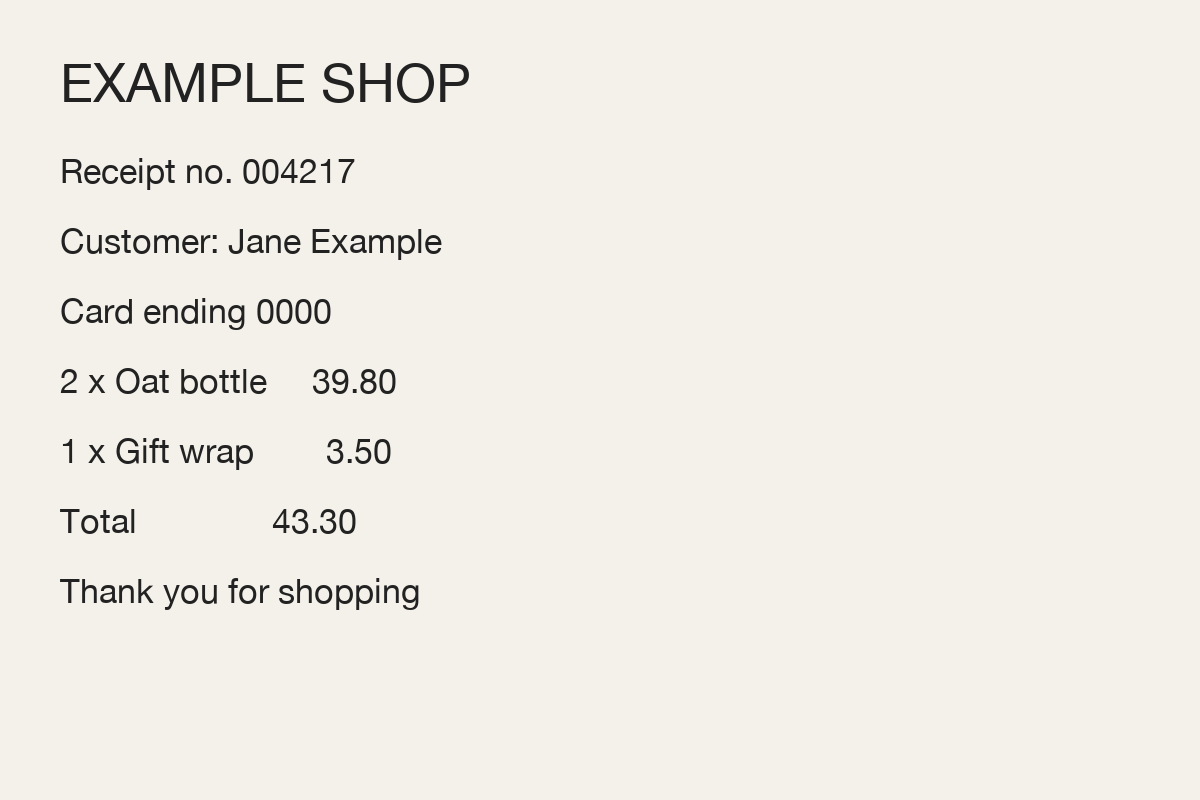
We tried it on two pictures that we made up: a receipt, 1200 by 800 pixels, with a fake name and a fake card number, and a portrait of a woman. We saved the results and looked at them at full size.
On the receipt the writing was easy to read with 181 squares. With 91 some words could still be read, but the digits could not be trusted. With 45 squares we could not read it by eye, and with 23 and 11 it was only gray blocks. On the portrait the face and the smile were still easy to recognize with 91 and 45 squares. With 23 squares the face was only an outline and a hairstyle, and with 11 and 8 we could not tell who it was.
So there is no single number. What matters is how big the thing you want to hide is, compared with the whole picture: a small line of writing in a big picture needs far bigger squares than a large face. Try a coarse setting first and make it finer only until the picture does what you want.
Pixelating is not a secure way to hide something
Pixelating makes detail harder to see. It does not make it safe. A few squares still show the layout, the colors and the shape of what was there, and what looks unreadable to you may not be unreadable to someone who has the picture and time. We only checked by eye, and we cannot promise that anything cannot be recovered.
So do not rely on it for passwords, card numbers, ID numbers, addresses or any face that has to stay private. If something must not be seen, leave it out of the picture before you take it, or cover it completely.
What it does not do
It works on the whole picture. There is no way in Adjust to select an area, such as a face, a license plate or one line of a document, and pixelate only that. If you need to hide one part and keep the rest sharp, this tool is not the way.
It does not redraw anything, and it does not choose colors for you: each square is the average of the part of the picture it covers. The saved picture keeps the size of the original, so each square is many pixels wide. It is a large picture of squares and not a small file.
Pixelating for the look
If you pixelate a picture because you like the effect, the squares are only half of it. The other half is the number of colors. A picture with big squares and only a few colors looks like an old game, and a picture with big squares and all its colors looks like a mosaic. Our photo to pixel art page explains how to set Colors as well.
Save a few versions as new pictures and put them side by side with the photo. The one that looks right on the canvas is usually the one that looks right in a post or on a poster.
Getting the result you want
Start from the picture you want to publish and decide what the squares are for. If the aim is to make small details hard to see, pick a setting that clearly goes too far, look at the saved picture at full size, and then step back until it is just enough. If the aim is the look, try three or four settings and keep the best.
Always check the saved picture, not only what you saw while moving the slider, and keep your original. Use only pictures you have the right to use.