What a tote bag mockup is for
A tote bag mockup is a picture of a canvas bag that carries your graphic. The bag might hang from a hook, lie on a table, sit on a shoulder or stand against a plain background. It lets you judge a design as an object instead of a flat file, show it to a client or a customer, and announce a bag before a single one is printed.
Small shops, designers, event organizers and brands use mockups for the same reason: a flat image of a logo does not tell people much, and a picture of a bag does. A useful mockup answers a few questions at a glance. Does the graphic read at a small size? Do the colors look right on canvas? Does it still look good when the bag is carried? This page explains how to get such a picture in FlowPix, and where the limits are.
How to make a tote bag mockup with FlowPix
Open the app and attach your graphic as a reference picture. Then describe the bag and the scene the way you would brief a photographer: the color of the bag, where it hangs or lies, the light, and what else is in the frame. FlowPix generates a photo of a bag that carries a version of your graphic. There is no mockup template to choose and no file to drag onto a fixed shape; you say what you want to see and the image generator draws it.
Treat the first result as a draft. Look at it closely and ask for changes in plain words: make the graphic a little larger, use a black bag, move the notebook out of the picture. Each request produces a new picture, so you can keep what works and change one thing at a time.
On a hook, flat, carried and in black
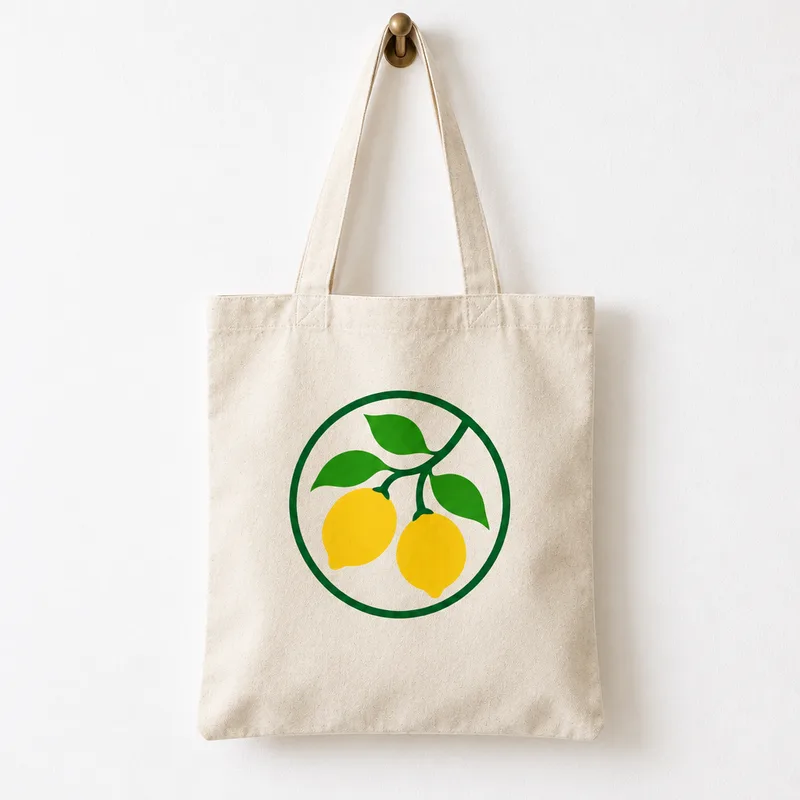
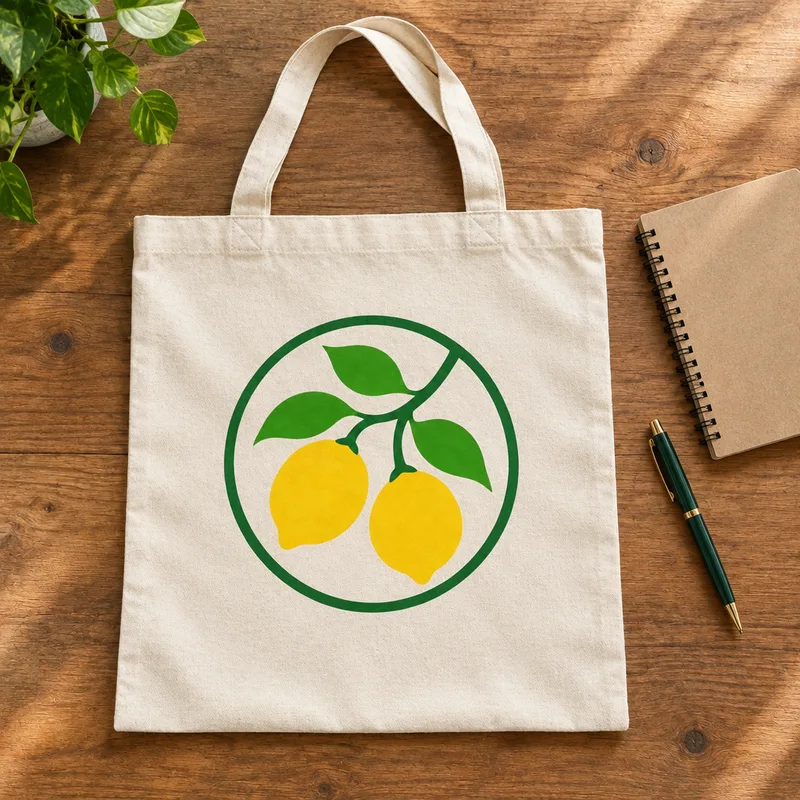
A bag on a hook against a plain wall is the cleanest picture: nothing competes with the graphic, and it works on a shop page. A flat lay from above, with a notebook and a pen beside the bag, gives the graphic a story and a bit of life. Both suit a natural canvas color, which is also the most common one.
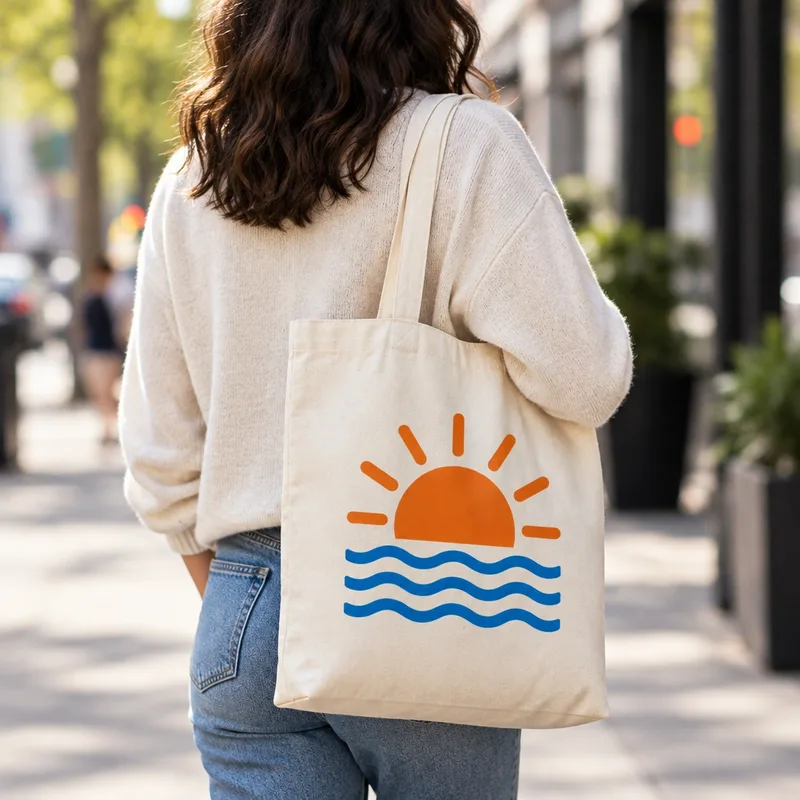
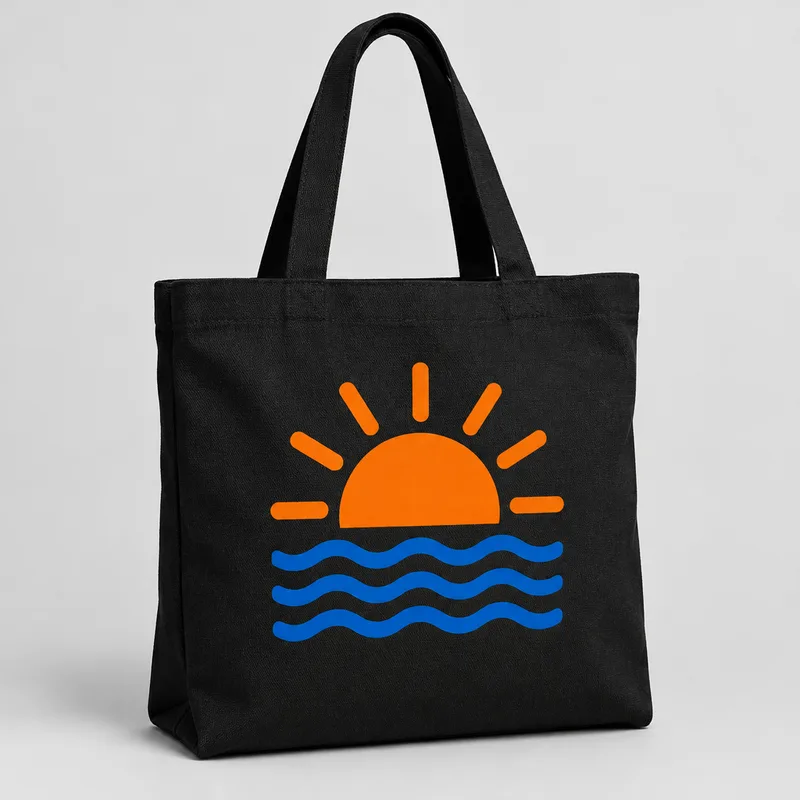
A person carrying the bag, seen from behind on a street, shows the bag in use, and a black bag on a plain studio background shows how a graphic looks on a dark color. For a dark bag use a graphic with bright colors, and say so in your description.
What we saw in our tests
We tried four scenes with two graphics: a lemon branch inside a circle, and a sunrise over waves. Both are simple flat designs that we made for the test, with no writing in them, and the four pictures on this page are the real results of those runs, not edited afterwards. The scenes were a natural bag on a wall hook, a flat lay with a notebook and a pen, a person carrying a bag on a street and a black bag in a studio.
In all four the graphic was recognizable and sat in the middle of the bag. But the picture is drawn again each time, so the graphic was redrawn a little: the circle and the lemons were not the same shapes in each picture. On the black bag the sunrise kept its shapes and colors but lost the cream background it had in our file, so the graphic looked printed on the cloth with no box around it. The bags themselves, their handles and their size are drawn by the model.
What it does not do
FlowPix does not place your file onto a fixed 3D shape, so it does not keep the exact pixels of your graphic. It does not make a print file, it does not know the real size of a bag or of its print area, and it does not show how your printer will place or color the print, so do not use a mockup to check dimensions or colors. It is also not a photo of a real bag, which matters for stores that require real product photos.
Our graphics had no text, so we do not know how small writing would come out; it may be broken or changed, so look at the result at full size. Keep your original artwork for printing, and ask your printer for its file rules.
Getting a better picture
Start with a simple graphic: a few colors, a clear outline and room around it. A simple shape survives being drawn again much better than fine detail. Say what color the bag is and what color the graphic is, and if the bag is dark, ask for a graphic with bright colors on it.
Change one thing at a time. If you want a different bag color or a different scene, say only that and keep the rest of your description the same, so you can compare the pictures side by side. Keep your original file, look at every result at full size, and use only graphics you have the right to use.
Make the graphic first
A mockup needs a graphic to show. If you do not have one yet, start with our AI logo generator, which designs logo directions from a short brief. Then bring the graphic you chose here, and put it on a bag on a hook, a flat lay or a bag in use.