What a hoodie mockup is for
A hoodie mockup is a picture of a hoodie that does not exist yet. It shows what a colour, a print or a fit would look like on a real garment, so you can decide, show it to someone, or start selling before you order a single piece. Brands use mockups for pre-orders and waitlists, small shops use them for product pages, and designers use them to show a client an idea.
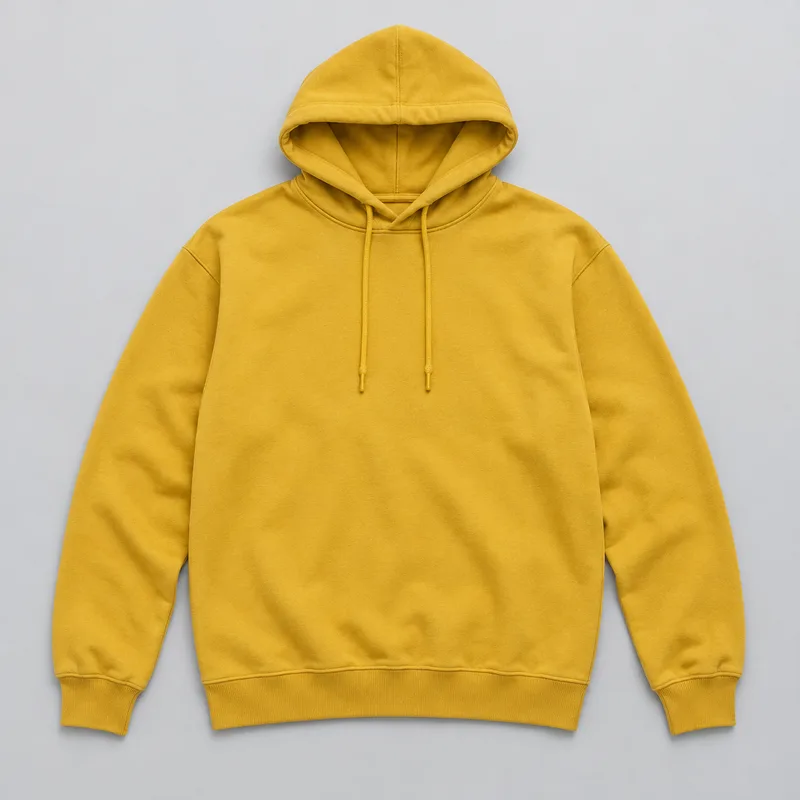
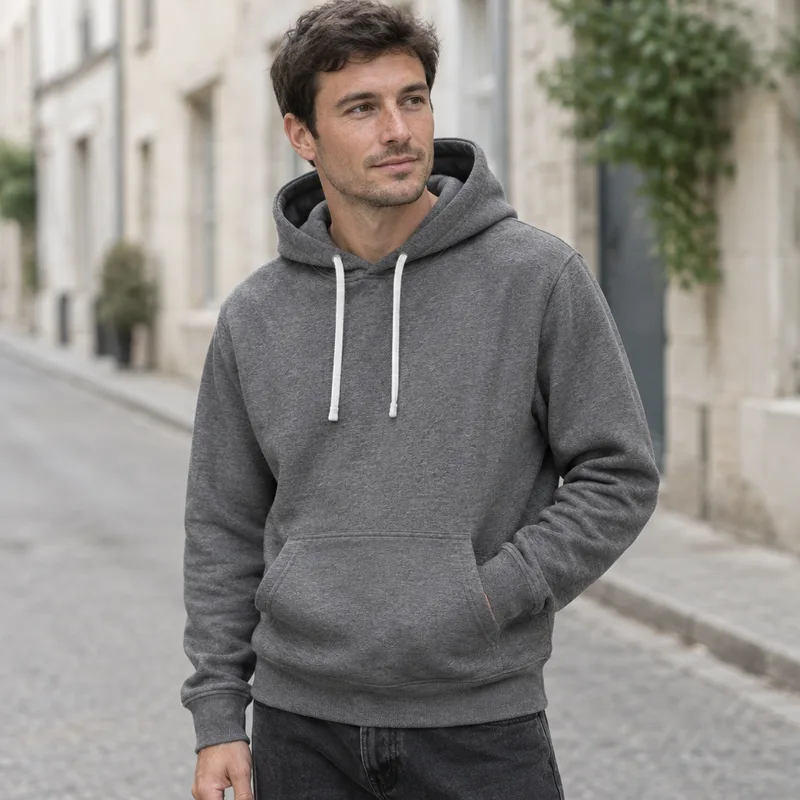
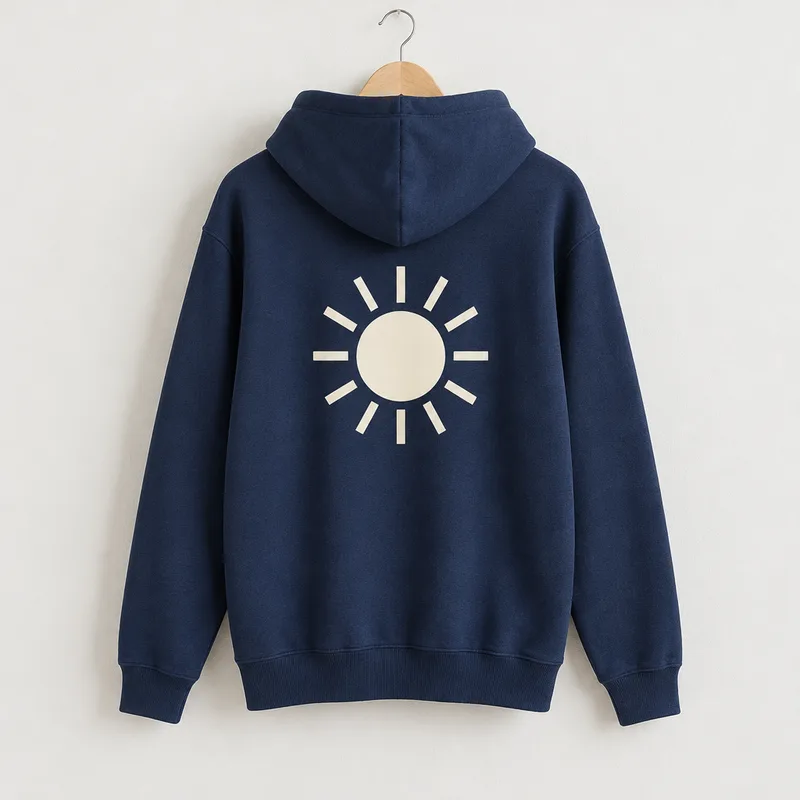
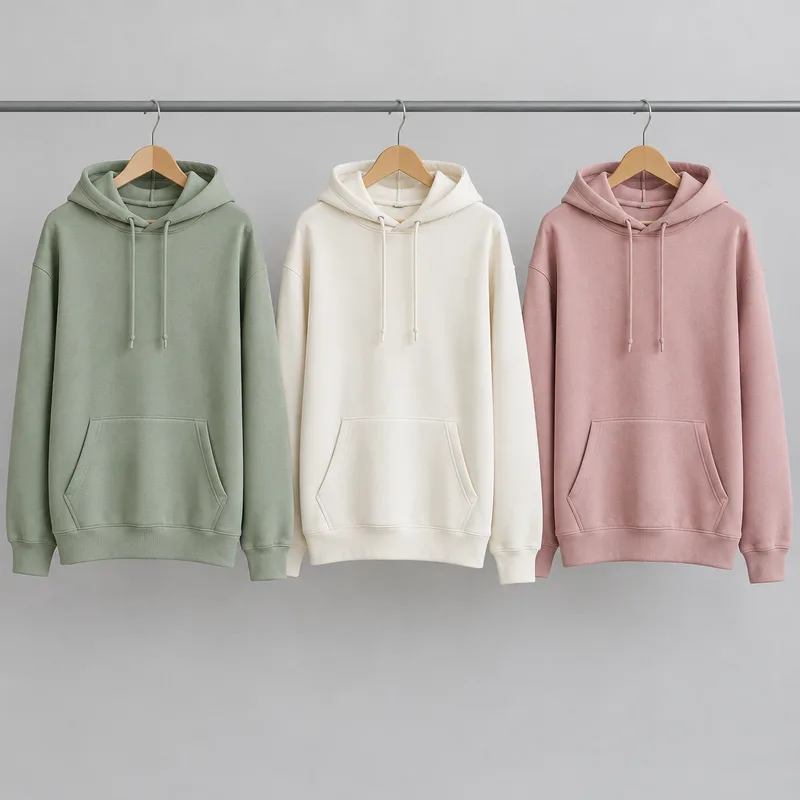
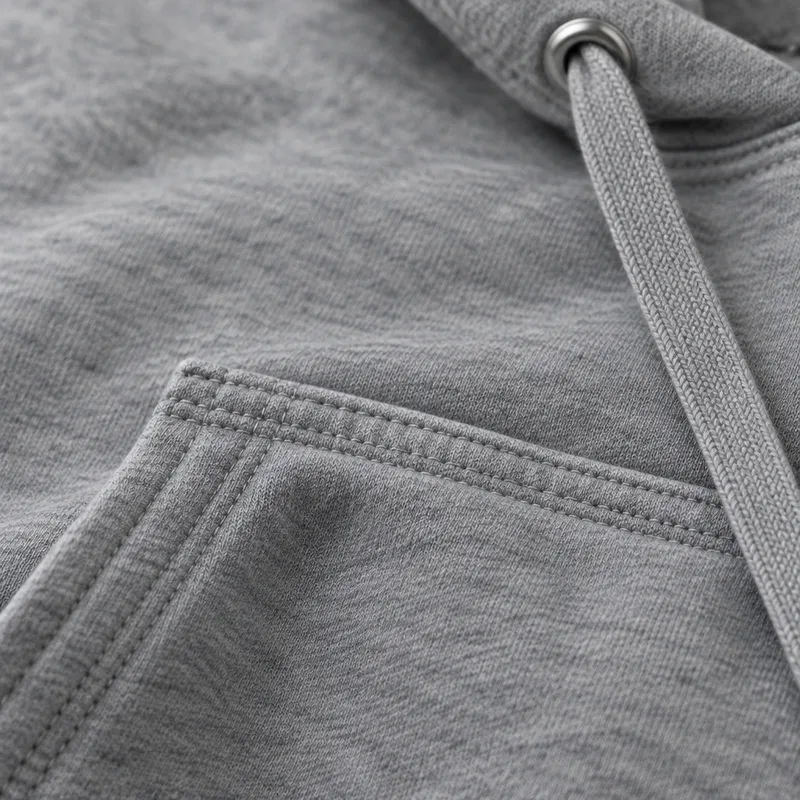
A good mockup answers three questions at a glance. What does the garment look like from the front and the back? How does the design sit on it? And does it look believable enough that a visitor can picture wearing it? The pictures below the page header were made for exactly that: a flat lay, a person wearing it, a back print, a row of colours and a close-up of the fabric.
How to make a hoodie mockup with FlowPix
Open the app and describe the picture you want, the way you would brief a photographer: the colour of the hoodie, the fit, whether it is laid flat, hanging or worn, the background and the light. A sentence or two is enough. FlowPix generates a realistic photo of that hoodie as a square image.
If you already have artwork, upload it as a reference and say where it should go: a small mark on the chest, a large graphic on the back, a stripe on the sleeve. FlowPix places a version of it on the hoodie. Because the picture is generated rather than pasted, treat the first result as a draft, look at it closely and ask for changes in plain language: make the print smaller, move it up, make the hoodie one shade darker.
The five shots a hoodie page needs
Most hoodie product pages are built from the same few pictures. The flat lay shows the cut, the hood and the drawstrings on a clean background. The on-model photo shows the fit and gives a sense of scale. The back view is where a large print usually lives. A row of colours shows the range in a single picture. A close-up of the fabric, the pocket and the drawstring tells a visitor what the hoodie feels like.
You can ask for these one at a time, in the same conversation, so the style stays consistent. Say that you want a square image for each, keep the description of the hoodie the same, and change only the angle or the scene. That keeps the set looking like one product.
Describing the hoodie so it comes out right
Be specific about the things a photo cannot guess. Give the colour in plain words, such as mustard yellow, sage green or navy. Say pullover or zip-up, and whether the hood is up or resting on the shoulders. Name the fabric if it matters: heavy fleece, light jersey, heather grey cotton. Say where any print goes and roughly how big it is.
Then describe the scene in a line: a light grey studio background, a quiet street in soft daylight, a white wall with a wooden hanger. Ask for no text on the garment if you do not have artwork yet, because generated lettering is the least reliable part of any picture. When you do want words, supply them in your artwork and check the spelling in the result.
What to check before you use a mockup
Look at the picture the way a customer would. Check that the print is where you asked and the right size, that any lettering is spelled correctly, and that the artwork has not been simplified or recoloured. On an on-model photo look at the hands, the drawstrings and the seams: if something looks odd, ask for another version rather than editing around it.
A mockup shows a design, not a finished garment. Do not present it as a photo of a product you already have in stock. Many marketplaces ask for real product photos or label concept images, so read the rules of the place you sell on. For printing, keep your original artwork files; the mockup is only for showing the idea.
Colours, variations and keeping a set consistent
To show the same hoodie in several colours, name them in one message and ask for them in a row, as in the colour row above. You can also make one picture you like and ask for the same hoodie in another colour. The picture is redrawn each time, so folds, the shape of the hood and the drawstrings can differ slightly from one version to the next. That is normal for generated images; pick the version you like and use it.
To keep a set consistent, reuse the same wording for the hoodie and change one thing at a time. Keep the same light and background across the set, and keep your artwork reference attached for every shot that shows the print.
Generated mockups and template tools
Template-based mockup tools place your file onto a fixed photograph of a hoodie. That is quick, and it keeps your artwork exactly as it is. FlowPix works differently: it generates the picture, so it can make a new colour, angle, scene or model for you, but the print is redrawn rather than pasted, so small details may change.
Which one fits depends on the job. For a quick, exact placement of a finished logo, a template is often enough. For a set of fresh pictures, in colours or scenes you do not have photographs for, a generated mockup saves a shoot. Many people use both: generate the scenes, then check the artwork against the original file before they publish.